How to use material colours as inputs
A how-to guide for changing material colours in the solution.
Introduction
Would you like to change material colours in the solution to display different colour options? Then use material colours as inputs in your solution by following these steps.
Prerequisites
- You configured the frames and routes for your solution.
- You configured the relevant contents such as the model(s), control panel(s), viewer(s) and datastore.
1. Define & assign default materials
- See viewerConfig schema docs for further information.
2. Transfer information from the control panel to the viewer
- Subscribe the viewer to the control panel.
- Define the selection control which changes the colour of the material.
- Define the
materialwhich is affected by the colour change. - Use
assignMaterialPropertiesByKeyto set the material colours for visualisation.
The configuration should look similar to the example below:
  viewer:
    kind: Viewer
    materials:
      outer: # gh output : material
        kind: StandardMaterial
        color: [0, 0, 255]
    subscribe:
      - kind: Model
        frame: home-frame
        source: model
        assignMaterials:
          outer: outer # gh output : material
      - kind: ControlPanel
        frame: home-frame
        source: params
        control: outer-color
        material: outer
        assignMaterialPropertiesByKey:
          blue: #should match the values used for the control
            color: [0, 0, 255]
          dark: #should match the values used for the control
            color: [0, 0, 50]
          red: #should match the values used for the control
            color: [200, 0, 0]
3. Add a control for the material colour
- Configure a selection control with
kind: Selectin the control panel. - Add a label for the control, which will be visible in the solution.
- Set the default value to one of the options.
- Set the height of the colour options in the control panel.
- Define the
choiceswithkind:Color, theirlabels,valuesandcolor.
❗ The values should match the options configured with the assignMaterialPropertiesByKey entity.
The configuration should look similar to the example below:
  params:
    kind: Controlpanel
    outer-color:
      kind: Select
      label: Outer color
      value: blue
      height: 60
      choices:
        - label: Blue
          value: blue #should match the values set with assignMaterialPropertiesByKey
          kind: Color
          color: [0, 0, 255]
        - label: Dark
          value: dark #should match the values set with assignMaterialPropertiesByKey
          kind: Color
          color: [0, 0, 50]
        - label: Red
          value: red #should match the values set with assignMaterialPropertiesByKey
          kind: Color
          color: [200, 0, 0]
Example
- Create a file
solution.yamlfile with the change material colours example solution file content. - Place the example Grasshopper definition in your solutions folder.
- Deploy using the cli:
ph deploy solution -o <org-slug> <solution-name>
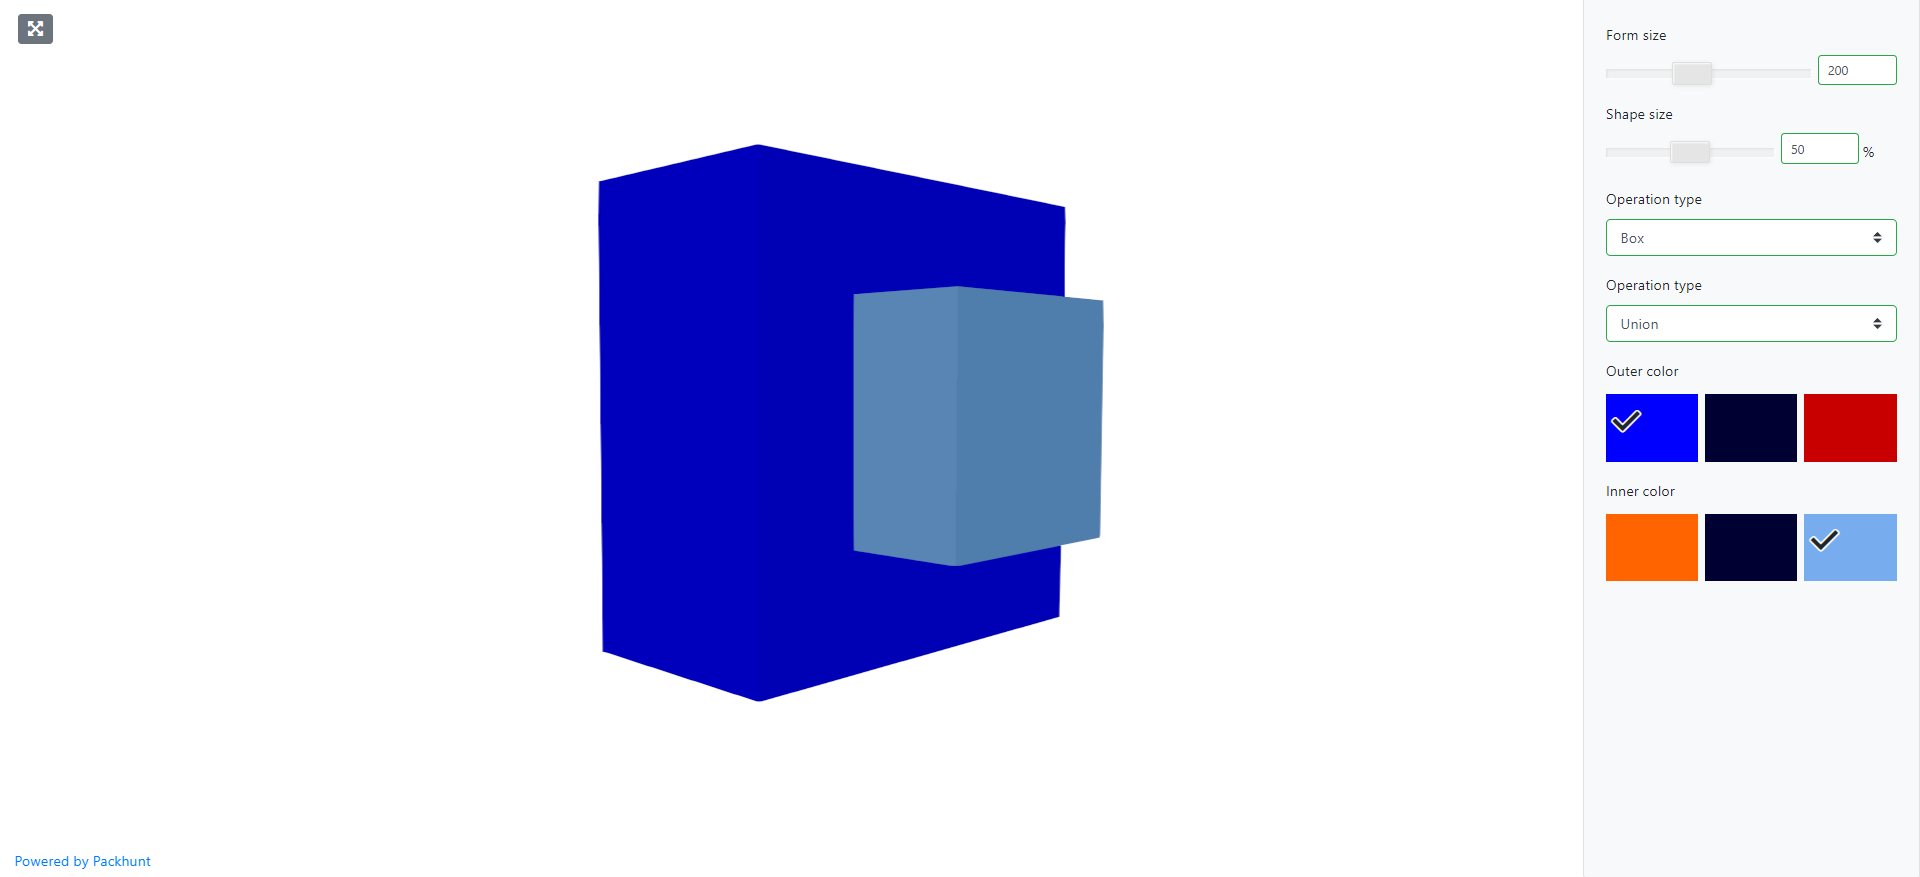
The solution should look like the image below.
Schema
See the viewerControlPanelSubscribe schema docs and selectionControlConfig schema docs for more information.