How to add a pop-up form
Introduction
Would you like to have forms that popup when the user clicks a button? Then add a pop-up to your solution by following these steps.
Prerequisites
- You configured the frames and routes for your solution.
- You configured the relevant contents such as the model(s), control panel(s), viewer(s) and datastore.
1. Add a pop-up
- Add a pop-up form with
kind: PopupFormto the contents. - Define the
inputsin the form. These are the contents of the pop-up form. They can be:SubmitButtonCancelButtonEmailInputTextInputTextAreaText
The configuration should look similar to the example below:
contents:
  my-popup-form:
    kind: PopupForm
    inputs:
      my-submit-button:
        kind: SubmitButton
        text: Submit this
      my-input:
        kind: TextArea
        label: My Label
        required: false # OPTIONAL
        placeholder: Type something. # OPTIONAL
💡 By default, the pop-up form will automatically close when the form is submitted.
2. Add a button to open the pop-up
- Add a
buttonto the frame contents to open the pop-up form. - Subscribe the pop-up to the button.
The configuration should look similar to the example below:
  contents:
    my-button:
      kind: Button
      text: Open form

    my-popup-form:
      kind: PopupForm
      inputs:
        my-input:
          kind: TextArea
          label: My Label
          required: false # OPTIONAL
          placeholder: Type something. # OPTIONAL
        my-submit-button:
          kind: SubmitButton
          text: Submit this
      subscribe:
        - kind: Button # button that opens the popup
          frame: home-frame
          source: my-button
Optionally subscribe the model to the pop-up form
A pop-up form can be used to trigger a model to solve.
To retrieve inputs from the pop-up form and use them to run the model:
- Subscribe the model to the pop-up form.
- Use the
TextInputorTextAreaform inputs. - Name the form inputs so that they match the names of the Packhunt
inputcomponents in the Rhino Grasshopper definition.
The configuration should look similar to the example below:
  my-model:
    kind: Model
    modelFile: my-gh-model.gh
    subscribe:
      - kind: PopupForm
        frame: my-home-frame
        source: my-popup-form
Optionally subscribe the pop-up form to the model
If the pop-up form triggers the model to solve, you may want to display a success/warning message at the bottom of the form before it closes.
To display a success/warning message at the bottom of the form:
- Subscribe the pop-up form to the model.
- Define the message to display. Two types of messages can be used.
setMessageOnSuccess: A message to display if the models solves successfully
setMessageOnFailure: A message to display if the models fails to solve
my-popup-form:
  kind: PopupForm
  subscribe:
    - kind: Button # Subscribe to the button to open the form
      frame: my-home-frame
      source: my-button
    - kind: Model # Subscribe to the model that solves after the form is submitted
      frame: my-home-frame
      source: my-model
      setMessageOnSuccess: It worked # Display a message upon the model solves successfully
      setMessageOnFailure: It failed! # Display a message upon the model fails to solve
  inputs: ...
Example
- Place the example Grasshopper definition in your solutions folder.
- Create a file
solution.yamlfile with the pop-up form example solution file content. - Deploy using the cli:
ph deploy solution -o <org-slug> <solution-name>
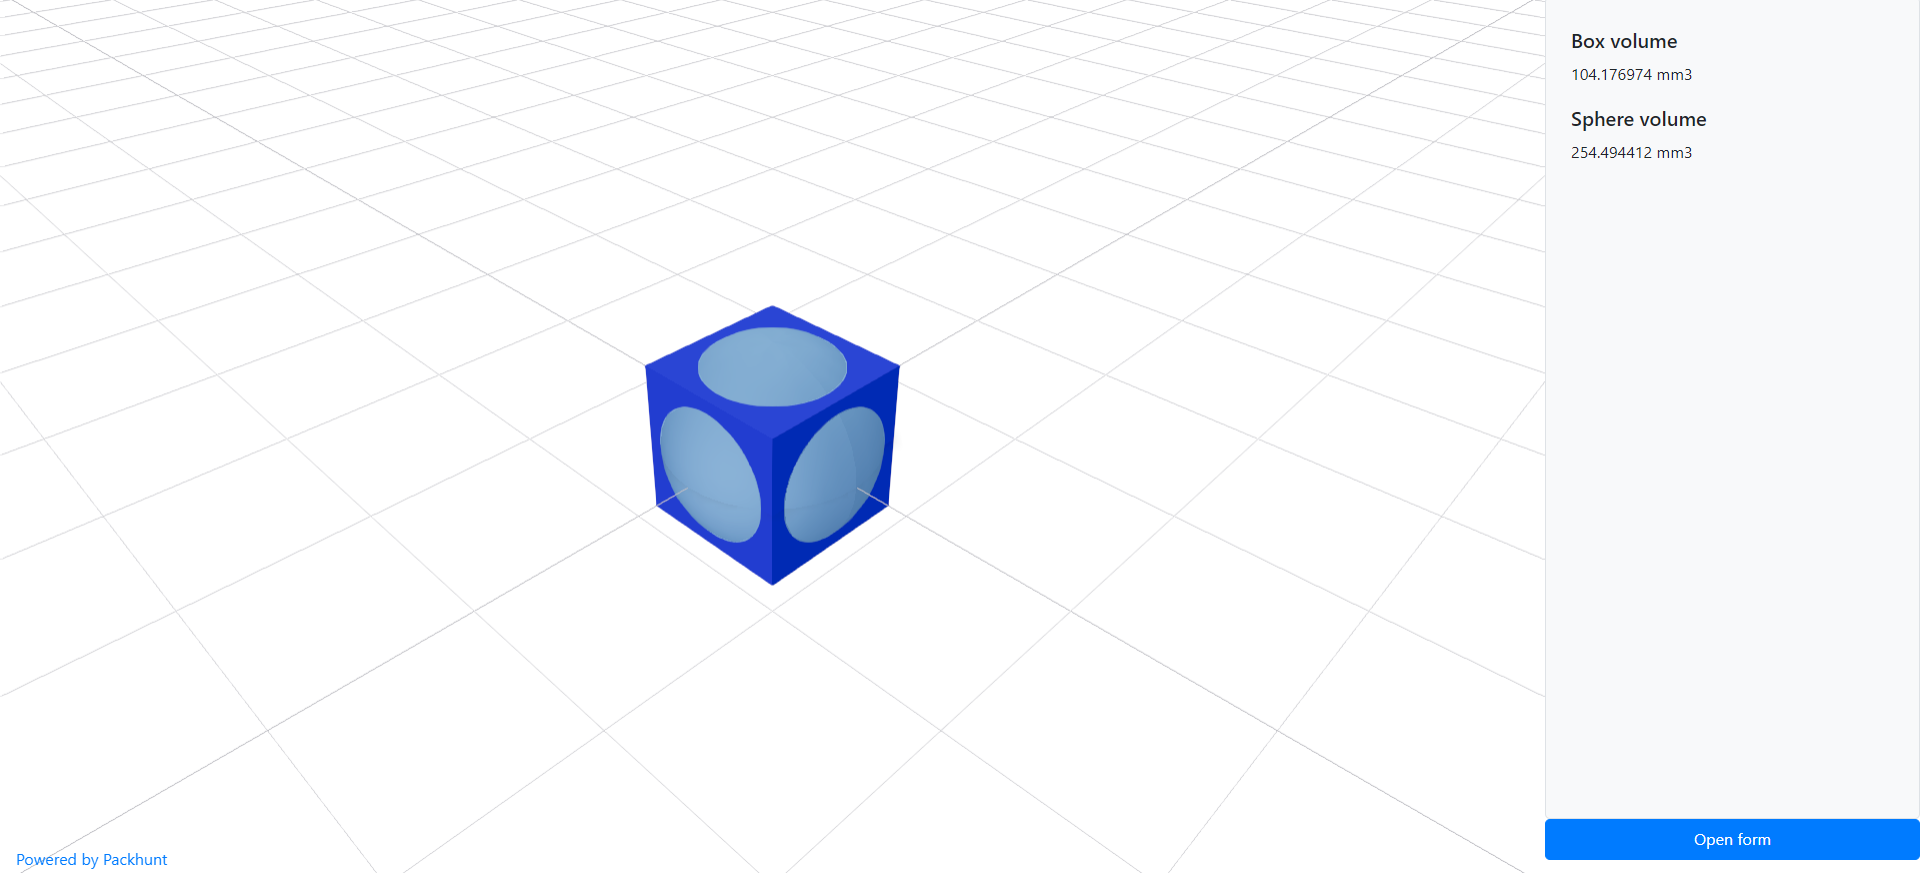
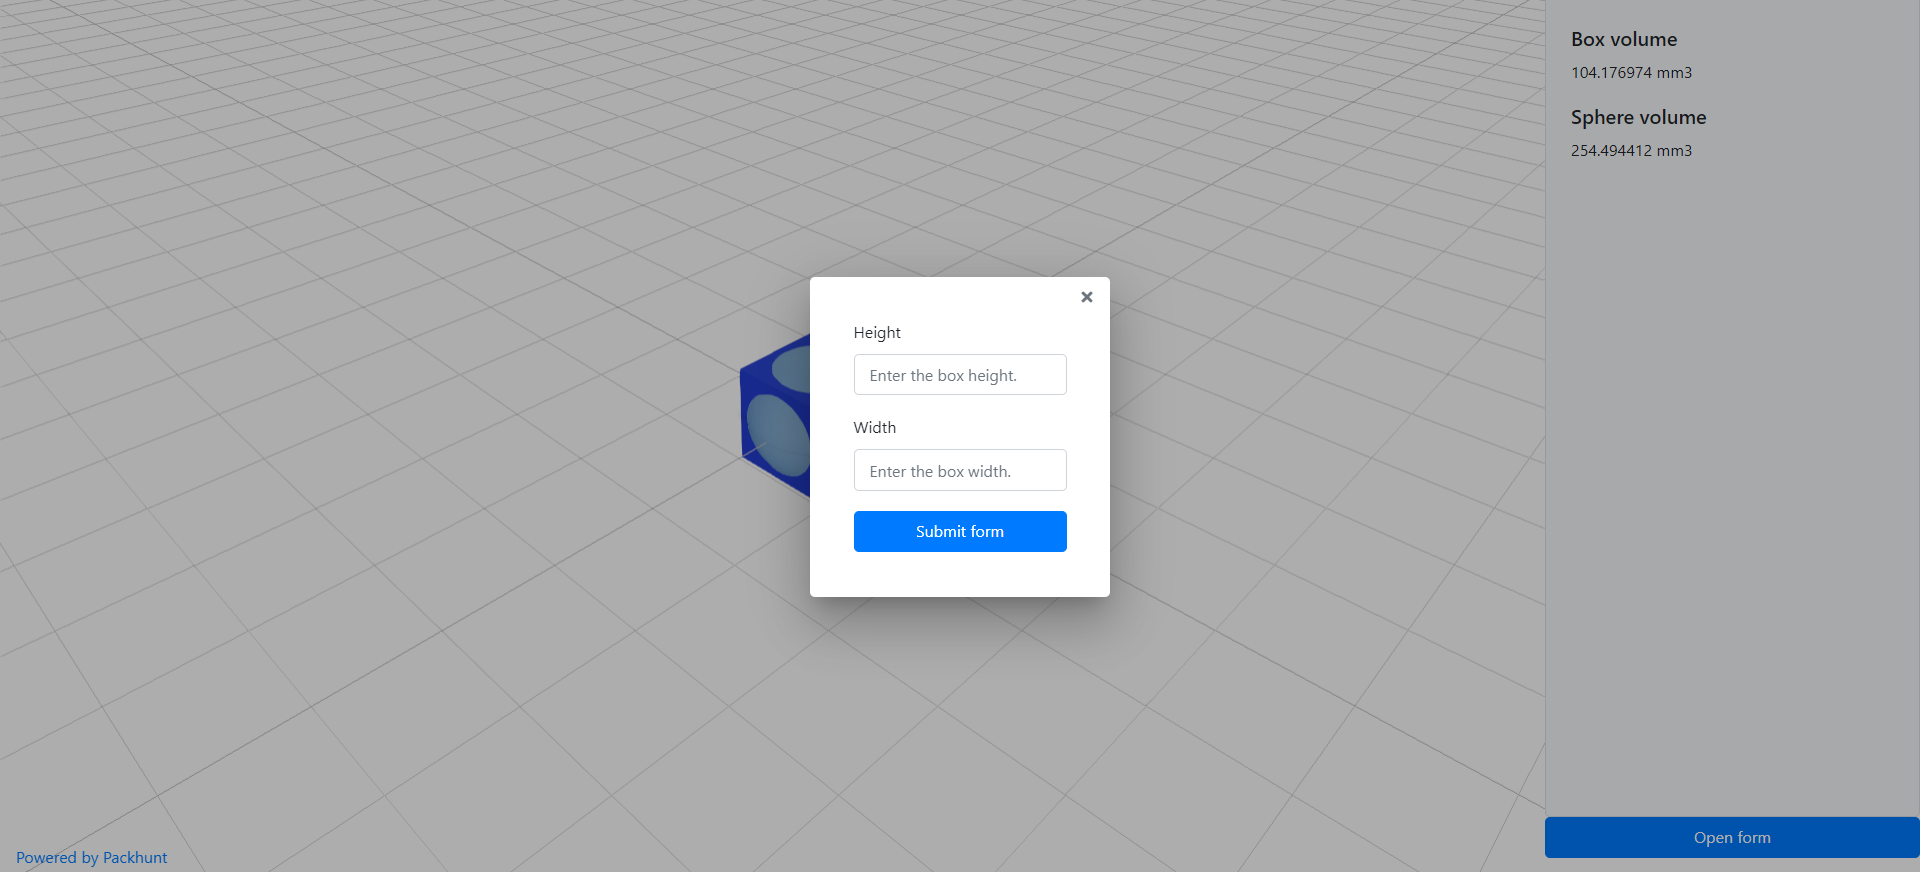
The solution should look like the images below.
Schema
See the form schema docs for more information.