Step 2: Create a new project
A tutorial for creating a new project.
Introduction
This article explains how to create and deploy a project.
Prerequisites
Before you start, make sure:
- You have a Packhunt account.
If you don’t have an account yet, you can sign up at https://app.packhunt.io/sign-up.
1. Create a project
Create a project and select a template.
- Sign in at https://app.packhunt.io.
- Choose an organisation from the list (eg. your personal organisation).
- Above the project list, click the ‘create project’ button.
- Fill in a unique project name.
- When asked to choose a template, select the “Basic template” to get started.
2. Adjust settings in the Studio
Add the content required by the project template.
- Upload this example basic model or another model you already created.
- Fill in the slider label and the unit (optional).
- Check min, max and default value(s) in addition to the precision.
- Save settings.
3. Deploy the project
Once you filled in your project settings, deploy your project to use your solution.
- Click “Deploy”.
- Find your project in the project overview and click it.
- A new browser tab should open with your solution (see our supported browsers)
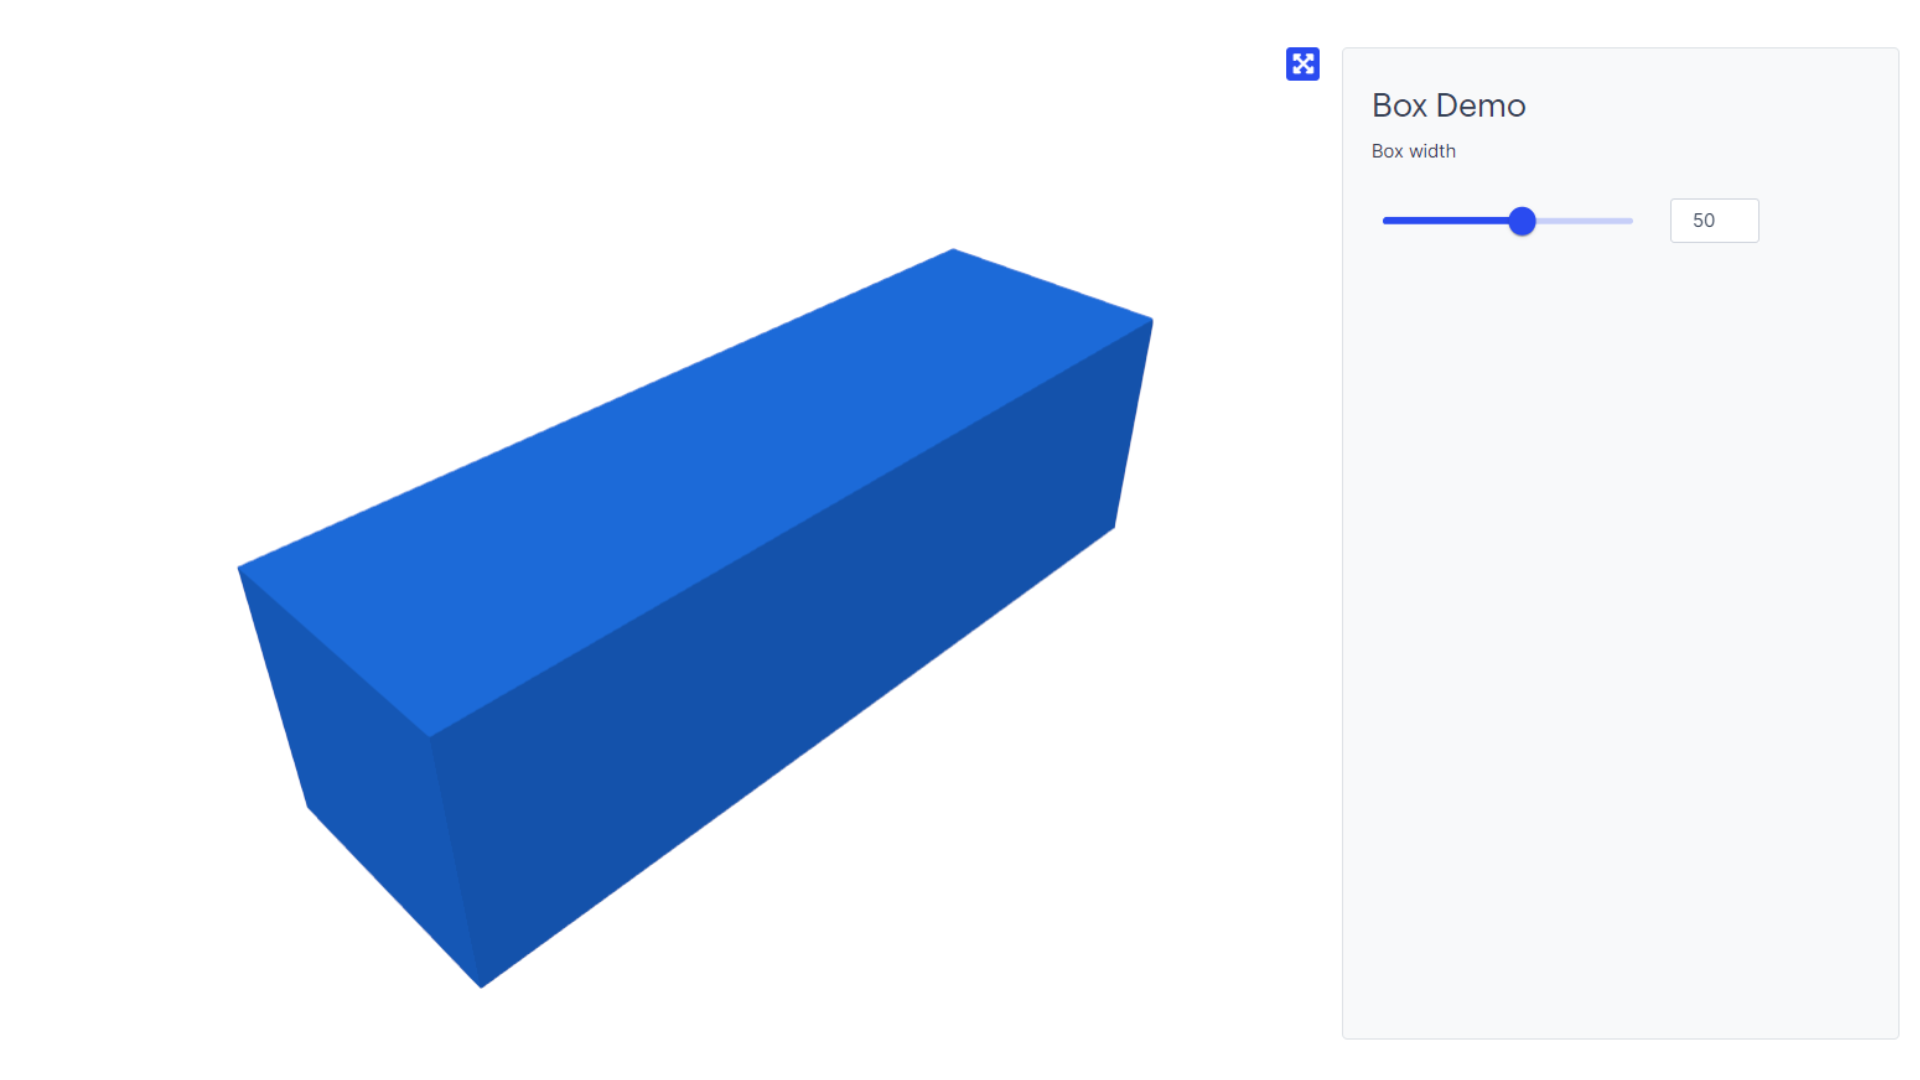
The solution should look something like this:
4. Change settings
Once you have a working solution, try making some changes and see the results.
- Go back to the browser tab with your project overview.
- Find your project and click on the edit button.
- The project settings should open.
- Change the material colour.
- Add a heading by clicking “+ Text”.
- Change the slider properties.
- Save the settings.
- Deploy project.
- Visit the browser tab with your solution and refresh to see the changes.
Next Steps
Create your own Rhino Grasshopper model and upload it to Packhunt by following the Create a model guide.