Step 1: Prerequisites
A tutorial on how to install the schema for Packhunt Workbench.
Introduction
To use the auto-complete function with the Packhunt Workbench, you need to set up the Packhunt schema in VS Code.
1. Install VSCode
To edit configuration files, we advise you to use Microsoft Visual Studio Code (VSCode):
- Install Visual Studio Code.
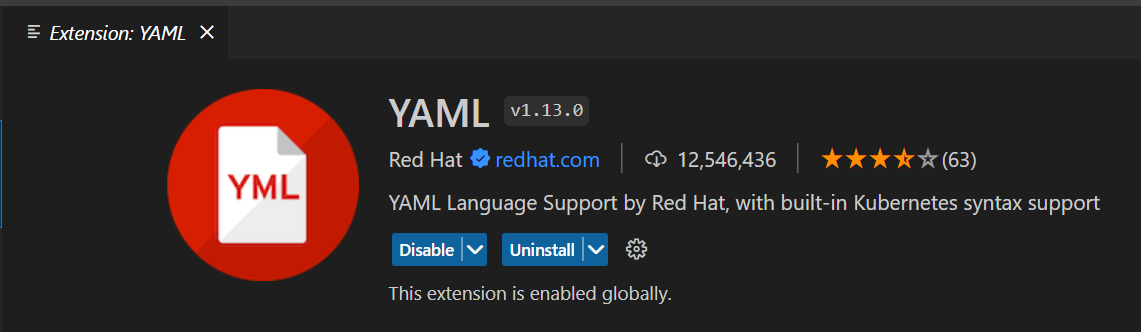
2. Install the YAML extension for VSCode
To install the the YAML extension in VSCode:
- Open VSCode.
- Click the “Extensions” icon on the left side
- Type “YAML” in the search box, select “YAML Language Support by RedHat” and install.
3. Set up Packhunt schema
To set up the Packhunt schema in VSCode for auto-completion:
- In VSCode, open
File>Preferences>Settings - Search for
YAML Schemaand click on “Edit in settings.json". The settings.json will be opened. - Edit the JSON so that it includes the following lines:
"yaml.schemas": {
  "http://packhunt.io-schemas.s3-eu-west-1.amazonaws.com/latest/solution.json": "solution.yaml",
  "http://packhunt.io-schemas.s3-eu-west-1.amazonaws.com/latest/service.json": "service.yaml"
}
It should look similar to the image below.

4. Set execution policy (Windows users only)
The Mac and Linux users can skip this step. Only the Windows users need to set the right permissions:
- Press the Windows button on your keyboard.
- Type “PowerShell”.
- Right-click Windows PowerShell.
- Click “Run as Administrator”.
- Allow the app to make changes on your device.
- Run the following command and confirm with “Y”.
Set-ExecutionPolicy -ExecutionPolicy RemoteSigned -Scope LocalMachine
- To check if the execution policy is set successfully, run the following command:
Get-ExecutionPolicy
- It should return
RemoteSigned
❗ Make sure you run Powershell as administrator. Otherwise, the next commands won’t work as expected.