Step 4: Create a solution
Introduction
To create a solution, you need to create various configuration files and upload them to the Packhunt platform.
Prerequisites
- Make sure that you have installed the Packhunt CLI and logged in.
- To use Rhino Grasshopper definitions in your Workbench solutions, install the Packhunt plugin via the Rhino Package Manager.
- We suggest that you use VSCode to write your configuration files. Find out more about how to set up auto-completion in VSCode with YAML schemas.
1. Get your organisation slug
When deploying a solution, you will need to know the unique slug of the organisation that you want to deploy to.
- In the Packhunt app, select “My Profile” in the top right-hand corner, and select My Organisations.
- For each organisation, you will see the organisation “slug” on the right-hand side as shown in the image below.
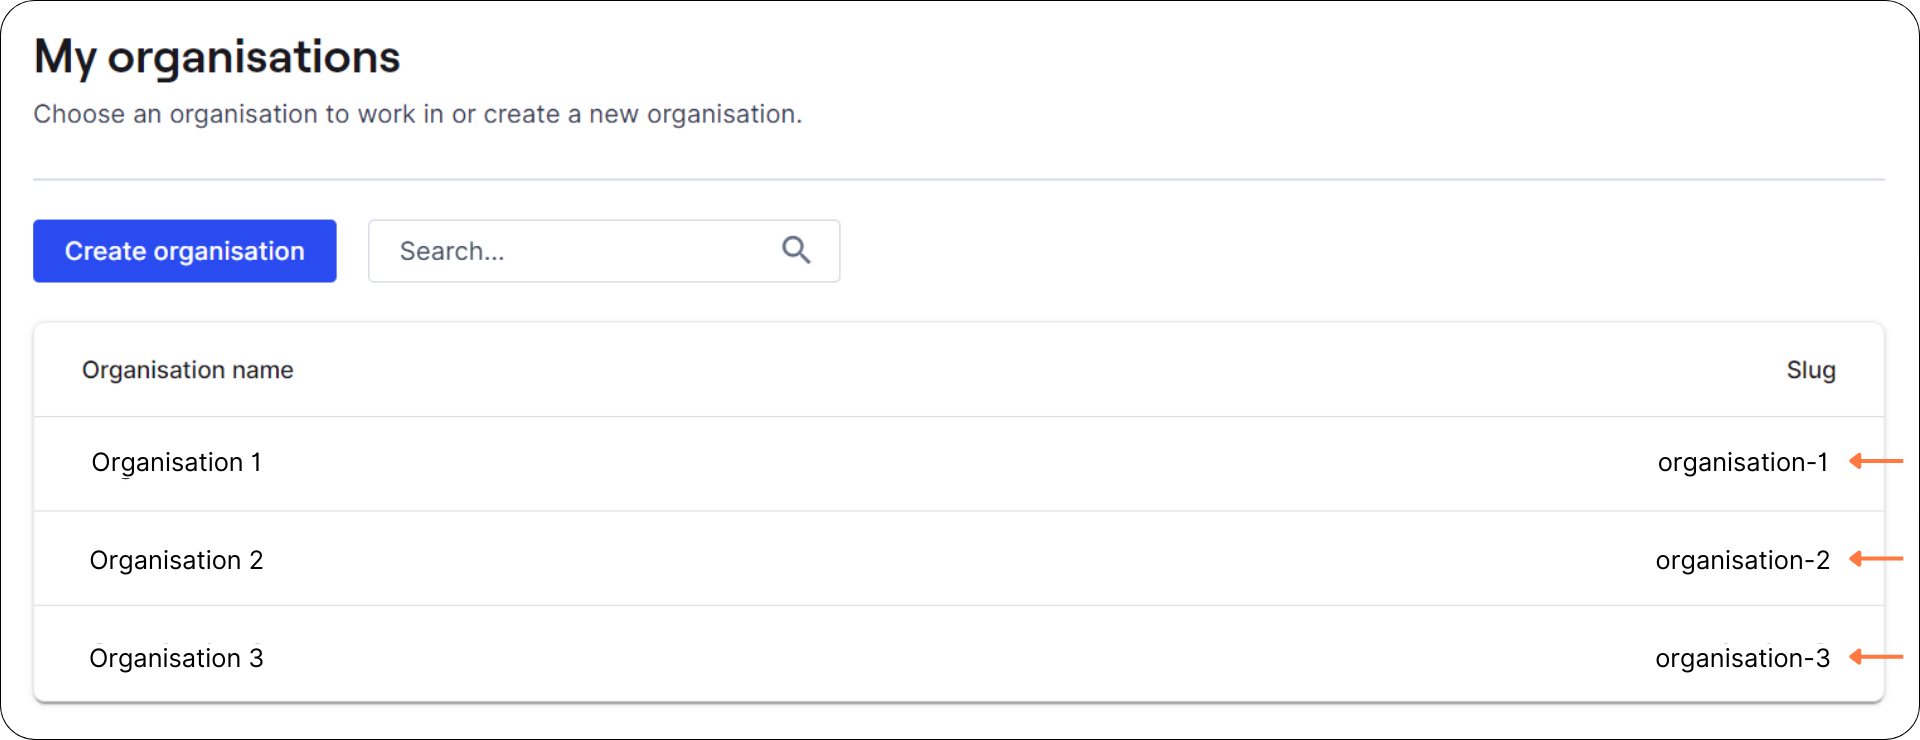
- You can also create a new organisation by clicking the “Create Organisation” button.
2. Set up your Packhunt folder
- Create a folder anywhere on your local computer to store all your solutions. We will refer to this as your “Packhunt” folder.
- For example
C:\Users\John\Documents\packhunt\
- For example
3. Set up your solution folder
- In your Packhunt folder, create a folder for your first solution. We refer to this as your “solution” folder.
- For example,
C:\Users\John\Documents\packhunt\xyz-solution\
- For example,
- The name of your solution folder will be used to generate the name of the solution and the name of your project on the Developer Platform.
- The name will become part of the URL that is used to access your solution.
- Make sure the solution name is globally unique.
❗ The name must start with a lowercase letter and may only contain lowercase alphanumerics and dashes (-).
4. Open your Packhunt folder in VSCode
To open your Packhunt folder containing your solution folder:
- Open VSCode.
- Go to File and select Open Folder.
- When prompted, select your Packhunt folder.
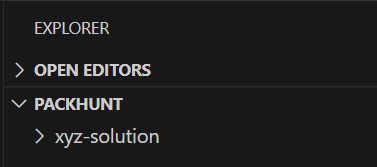
The folder hierarchy should look like the image below.
5. Create your solution configuration file
Configuration files are written in the YAML markup language. To create a configuration file:
- In VSCode file explorer, right click on your solution folder.
- Click on “New File…”.
- Name the new file
solution.yaml- For example
C:\Users\John\Documents\packhunt\xyz-solution\solution.yaml
- For example
The solution folder should contain the solution.yaml file as shown below.
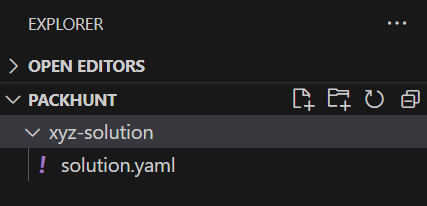
❗ Your solution folder should contain all the files related to your solution including the configuration file, Rhino Grasshopper files, images and icons used in the solution.
6. Configure your first solution
-
For now paste the following lines in your
solution.yamlfile.- The
Framesdefine the pages and sub-pages of your web-app. - The
Routerdefines the hierarchy of the frames. - Read more about these concepts in the Fundamentals section.
kind: Solution version: v0 router: kind: Router routes: - frame: my-main-frame frames: my-main-frame: kind: Frame contents: my-text: kind: Text text: Hello world! - The
💡 See the schema tips on how to use auto-complete.
7. Deploy your solution
-
Open the terminal window in VSCode. Find out more about how to open a terminal window in your OS.
-
In the terminal window, make sure that you are in your Packhunt folder.
-
If not, navigate to the parent folder where you created your solution folder.
-
On Windows (Powershell), MacOS and Linux, use the
cdcommand. For example:cd C:\Users\John\Documents\packhunt\
-
-
Type the command to deploy the solution:
-
First, note which Packhunt organisation you would like to upload the solution to.
-
Run the deploy command:
ph deploy solution -o <org-slug> <solution-name>For example, let’s say your organisation is
johnsmithand your solution’s name isxyz-solutionC:\Users\John\Documents\packhunt> ph deploy solution -o johnsmith xyz-solution💡 Your solution’s name is the same as your solution folder’s name.
-
If deployment succeeded, you should see the following:
Running deployment for solution 'xyz-solution' in organisation 'johnsmith'

√ Running checks
√ Deploying template
√ Deploying project

Successfully deployed solution 'xyz-solution'

🚀 Your solution is available at: https://app.packhunt.io/xyz-solution
-
8. View your solution
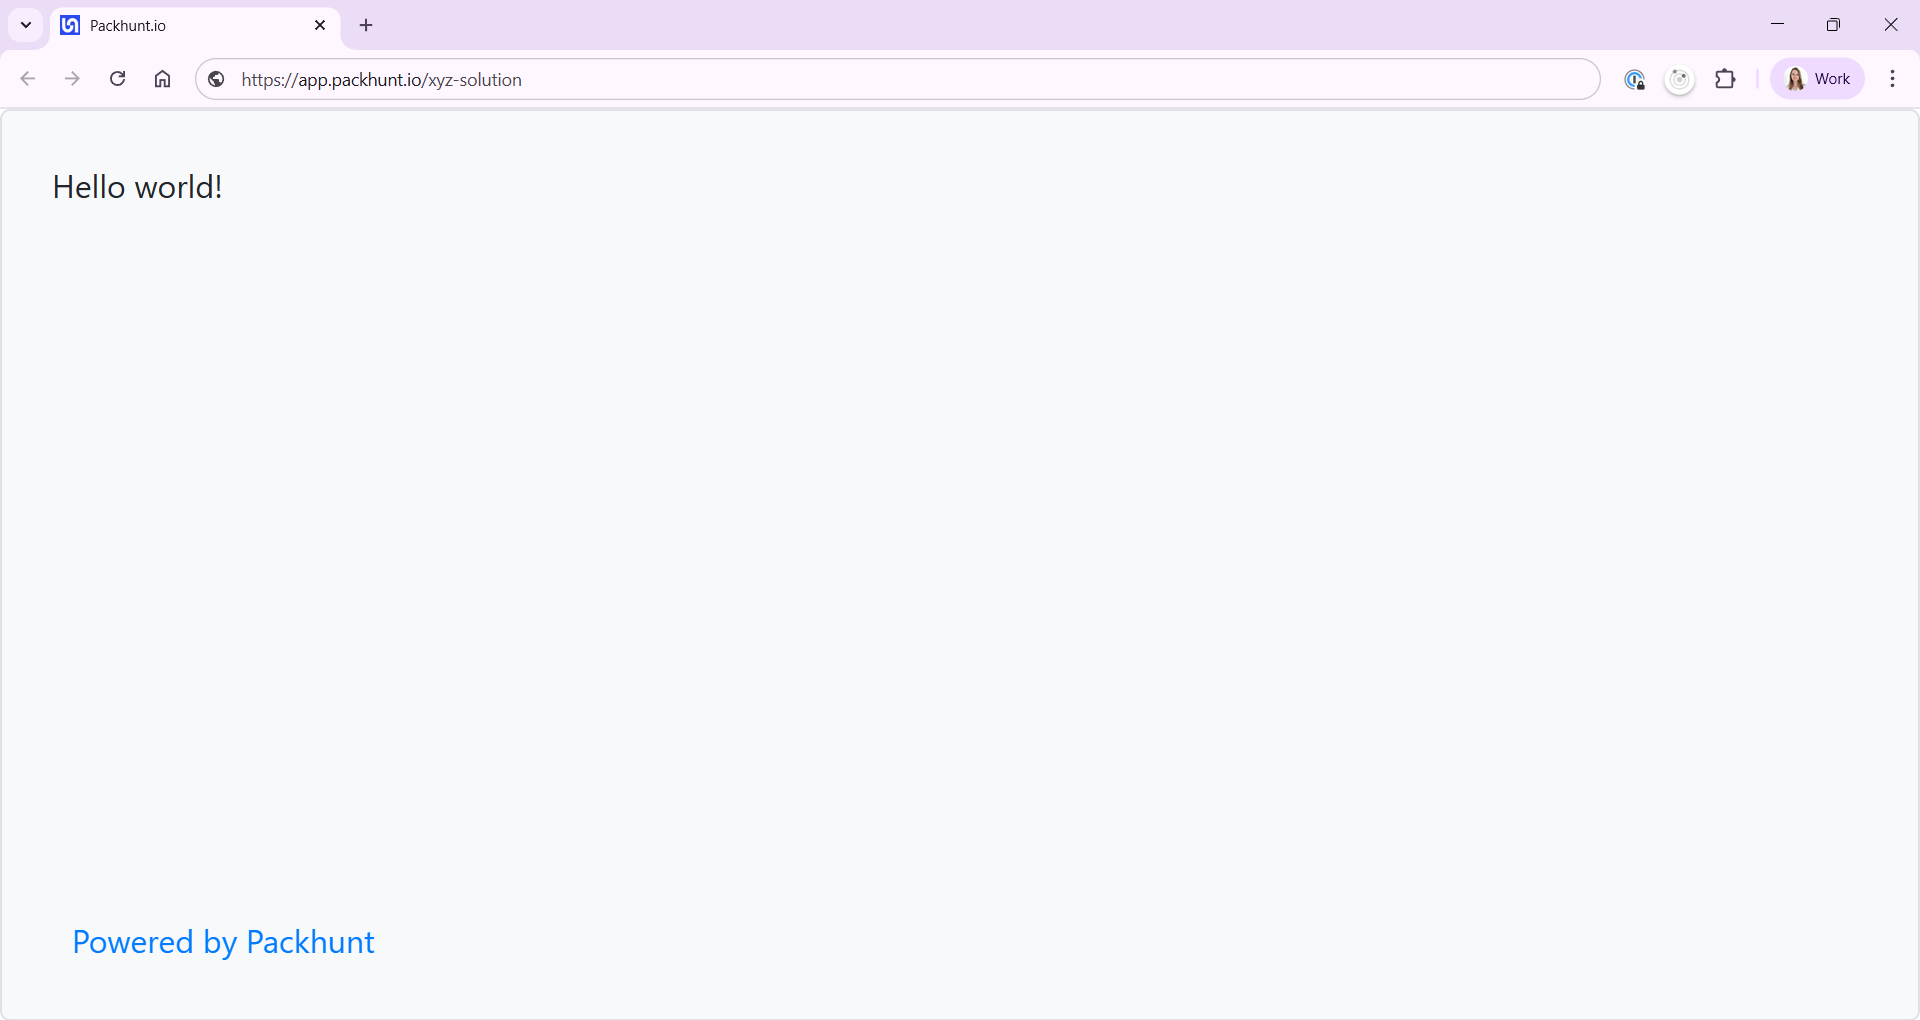
- To see the deployed solution, copy-paste the solution URL that is shown in the terminal window.
- In the example, the URL would be
https://app.packhunt.io/xyz-solution.
- In the example, the URL would be
- Open the solution in one of our supported browsers.
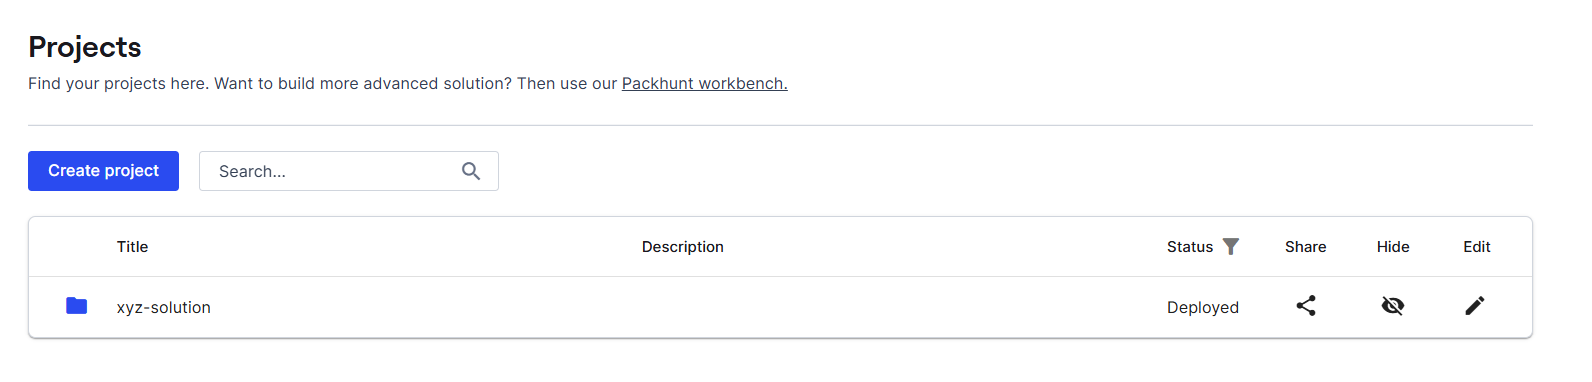
9. View your project on the Developer Platform
- Go to https://app.packhunt.io/manage/my-organisations
- Open the organisation to which you just deployed your first solution
- See the project that you just created in the list.
- Click on the project to open it.
Next Steps
- Create more solutions with our how to guides.
- To view a complete example solution, you can use the files from our example solutions repository.
- Share your project with others to view and edit the solution.