Step 3: Create a Rhino Grasshopper model for Packhunt
Introduction
Rhino Grasshopper models can communicate with Packhunt via special Packhunt components. Here’s how to add them to your Rhino Grasshopper model.
Prerequisites
Before you start, make sure:
- You have a Packhunt account.
- You have our latest Packhunt plugin.
If you don’t have an account yet, you can sign up at https://app.packhunt.io/sign-up.
1. Create a Rhino Grasshopper model
Create your own Rhino Grasshopper model that you can share on Packhunt.
- Define your parametric logic.
- Define your inputs:
- Use the
Inputcomponent for all the inputs that the end-user should be able to change in the solution.
- Use the
- Define your outputs:
- Connect the
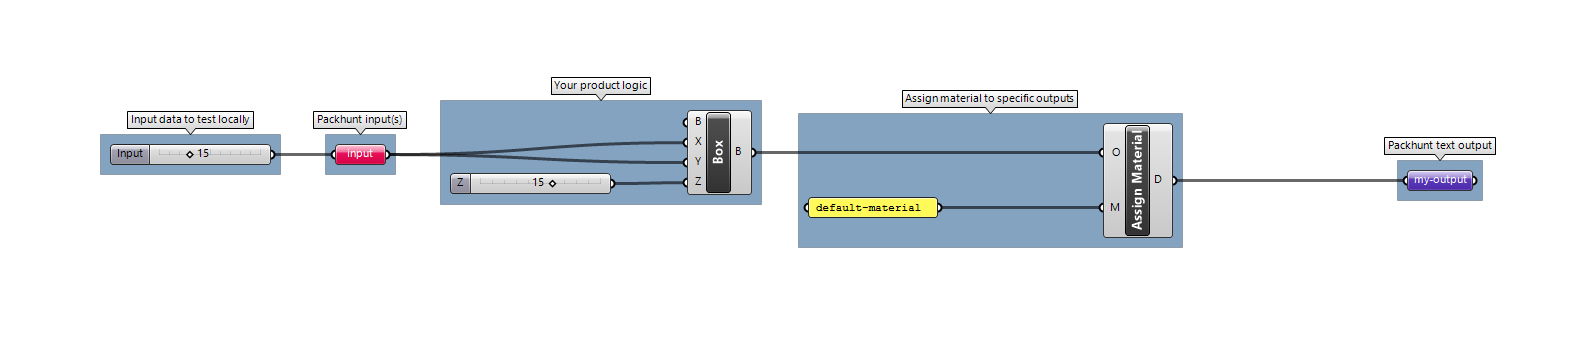
Assign materialcomponent to the geometry that should be outputted in the solution. - Create a material name called “default-material” by typing in the panel component.
- Connect this panel as a material input to the
Assign materialcomponent. - Connect the
Data Outputcomponent to the result of theAssign materialcomponent.
- Connect the
💡 The output components should have unique names with lowercase alphanumerical characters.
For a simple example see this model of a box.
2. Upload your model to Packhunt
Verify that your Rhino Grasshopper model is modelled correctly by running it on Packhunt.
- Go to https://app.packhunt.io.
- Create a new project.
- When asked to choose a template, select the “Basic template” to get started.
- Adjust the project settings:
- Upload your Rhino Grasshopper model.
- Define the materials used in your Rhino Grasshopper model.
- Define the properties of your Rhino Grasshopper model inputs.
- Click “Save Settings”.
- Click “Deploy”.
- Click on your project to open your solution.
💡 Note that you can run models for up to 60 seconds on Packhunt.
Next Steps
Share your project or keep improving your model until it’s ready.
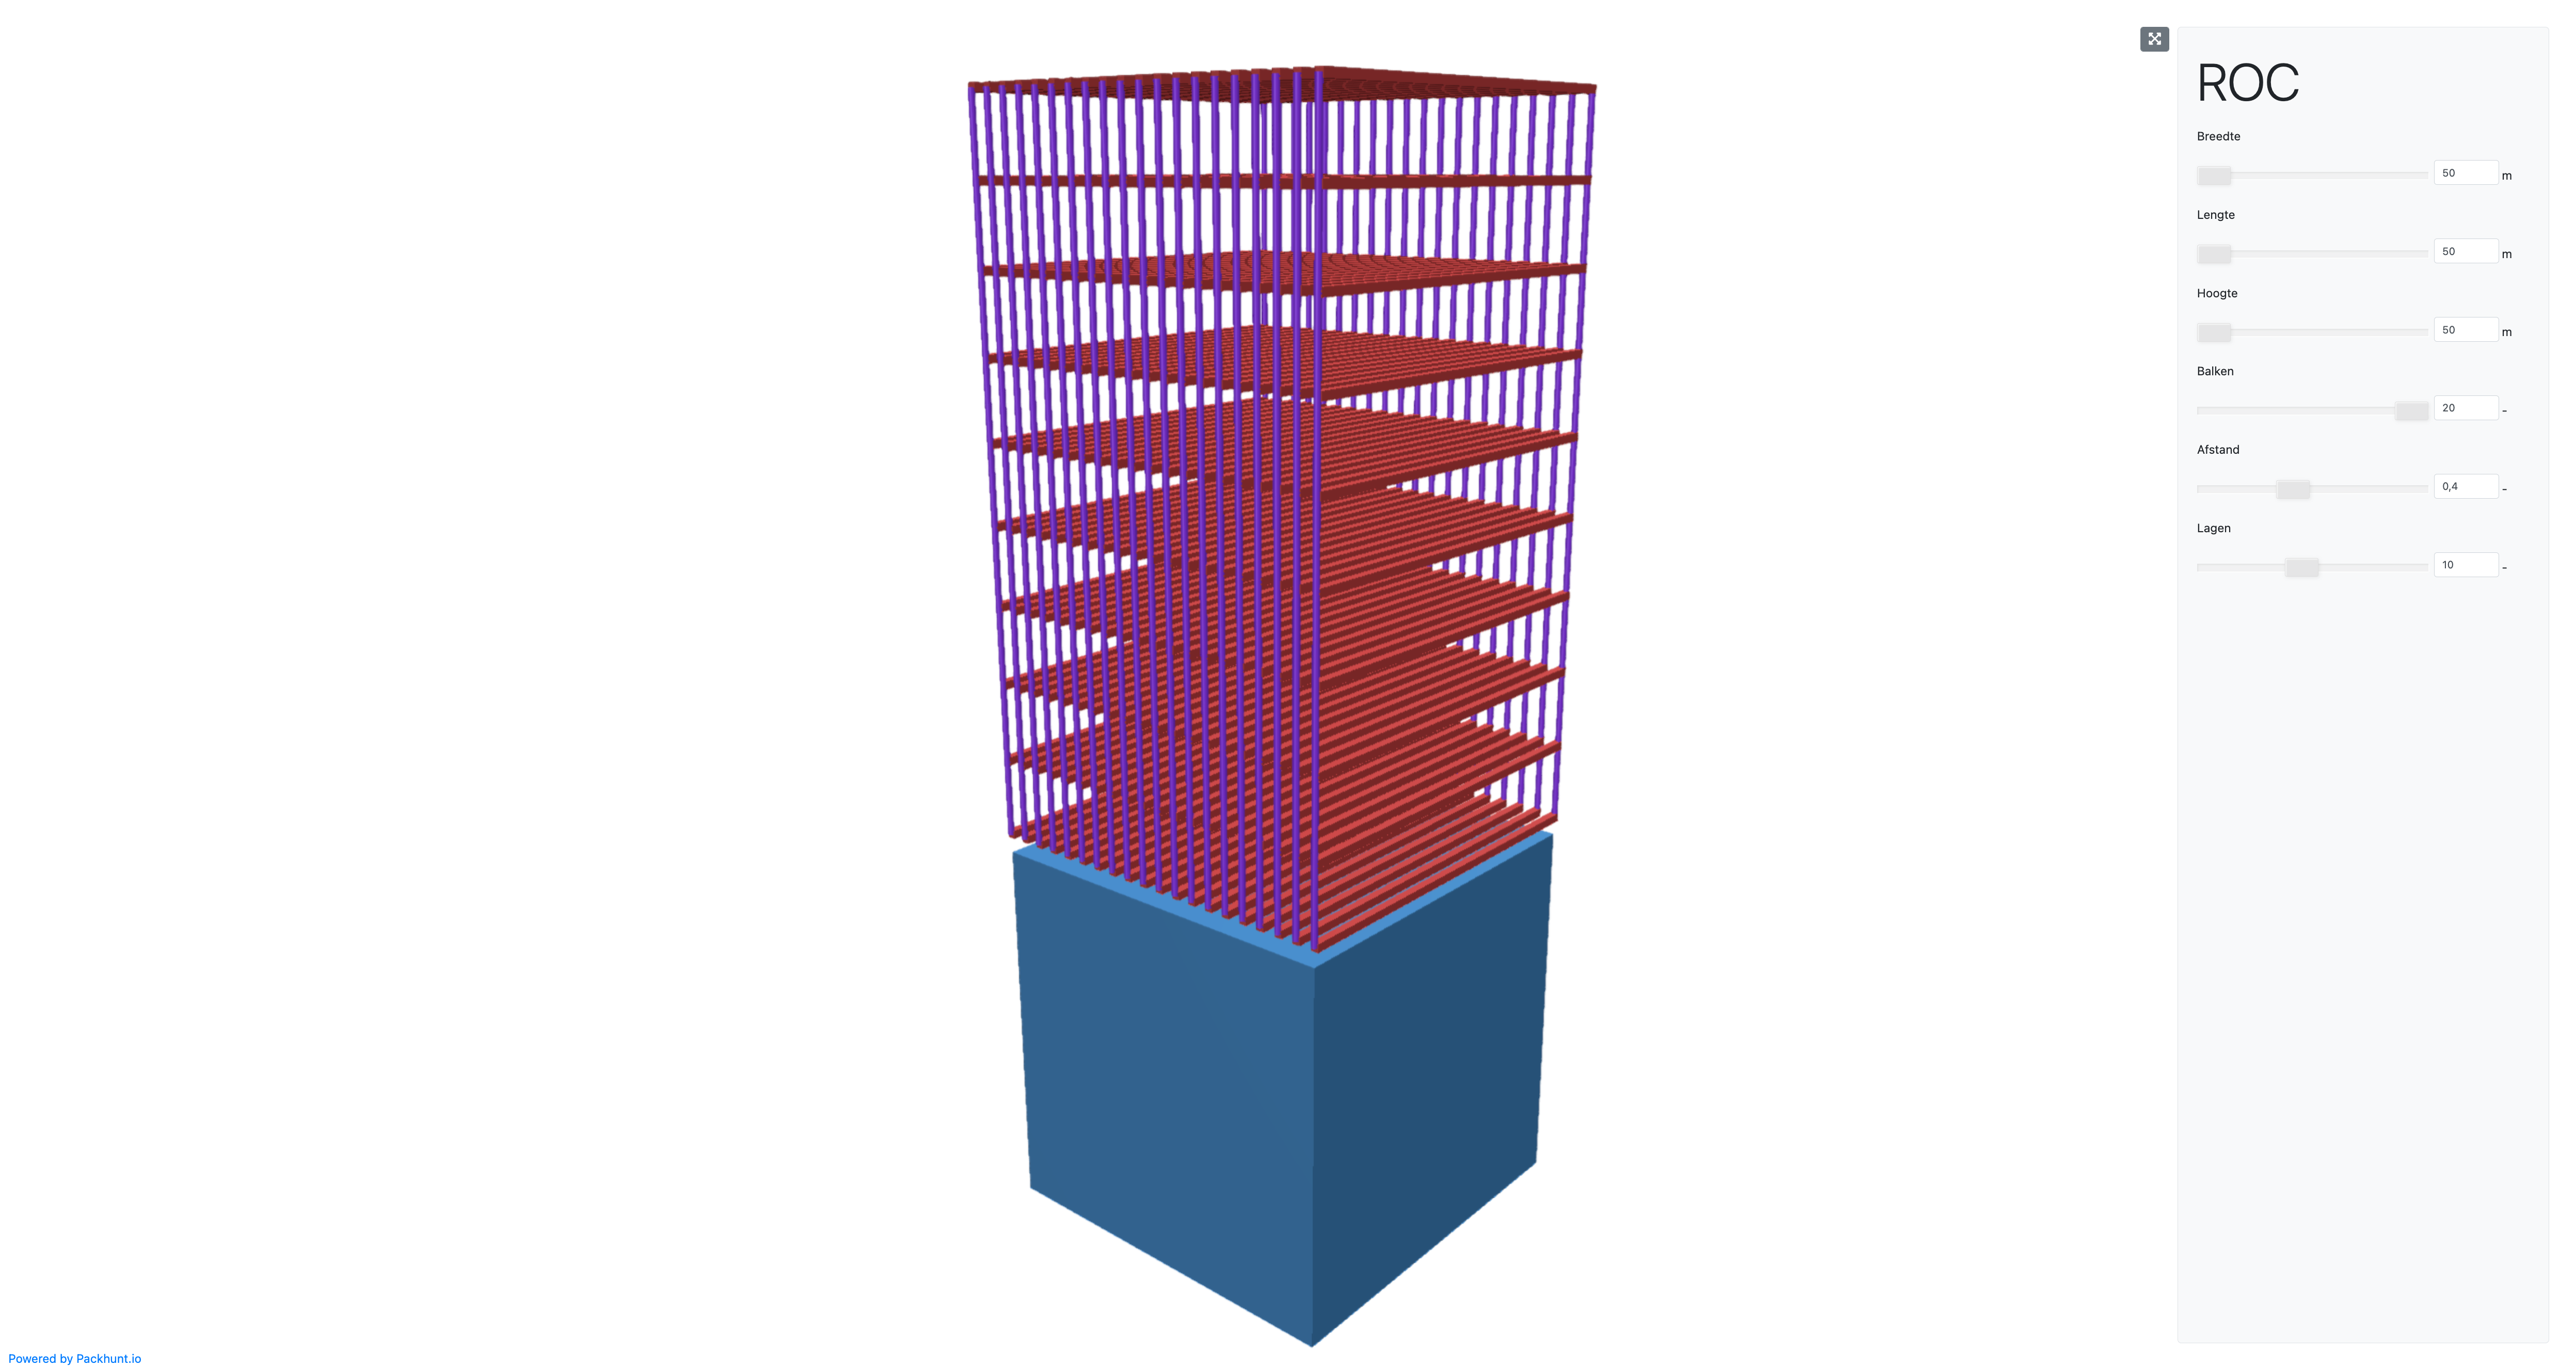
For inspiration here’s an example of a solution made with the basic templates.