How to hide/unhide geometries in the viewer
A how-to guide for hiding/unhiding geometries in the viewer
Introduction
Would you like to hide/unhide certain geometry in the viewer? Then assign layers to the geometries to change their visibility by following these steps.
Prerequisites
- You configured the frames and routes for your solution.
- You configured the relevant contents such as the model(s), control panel(s), viewer(s) and datastore.
1. Assign layers to your geometry
- Under the viewer subscription to the model, use the
assignLayersentity to differentiate the layers which can be hidden/unhidden in the viewer.
The configuration should look similar to the example below:
viewer:
  kind: Viewer
  subscribe:
    - kind: Model
      frame: main
      source: model
      assignMaterials:
        my-geometry-1: white
        my-geometry-2: blue
        my-geometry-3: red
      assignLayers:
        my-geometry-1: 1
        my-geometry-2: 2
2. Add buttons to control the geometries’ visibility
- Under the viewer, define the
viewerControlsby adding aButtonBarto thetopLeft. - Define the
orientationof theButtonBar. It can be horizontal or vertical. - Configure the buttons using the
ToggleLayerentity.- Define which
layereach button will switch on and off. - Configure the
iconto represent the button. See iconObjectConfig schema docs for icon options. ( See the Font Awesome icons ).
- Define which
viewer:
  kind: viewer
  viewerControls:
    topLeft:
      kind: ButtonBar
      orientation: vertical
      buttons:
        - kind: ToggleLayer
          layer: 1 #matches the layer under assignLayer
          icon:
            kind: Icon
            icon: fas-arrows-alt-h
        - kind: ToggleLayer
          layer: 2 #matches the layer under assignLayer
          icon:
            kind: Icon
            icon: fas-envelope-open
Example
- Place the example Grasshopper definition in your solutions folder.
- Create a file
solution.yamlfile with the assign layers example solution file content. - Deploy using the cli:
ph deploy solution -o <org-slug> <solution-name>
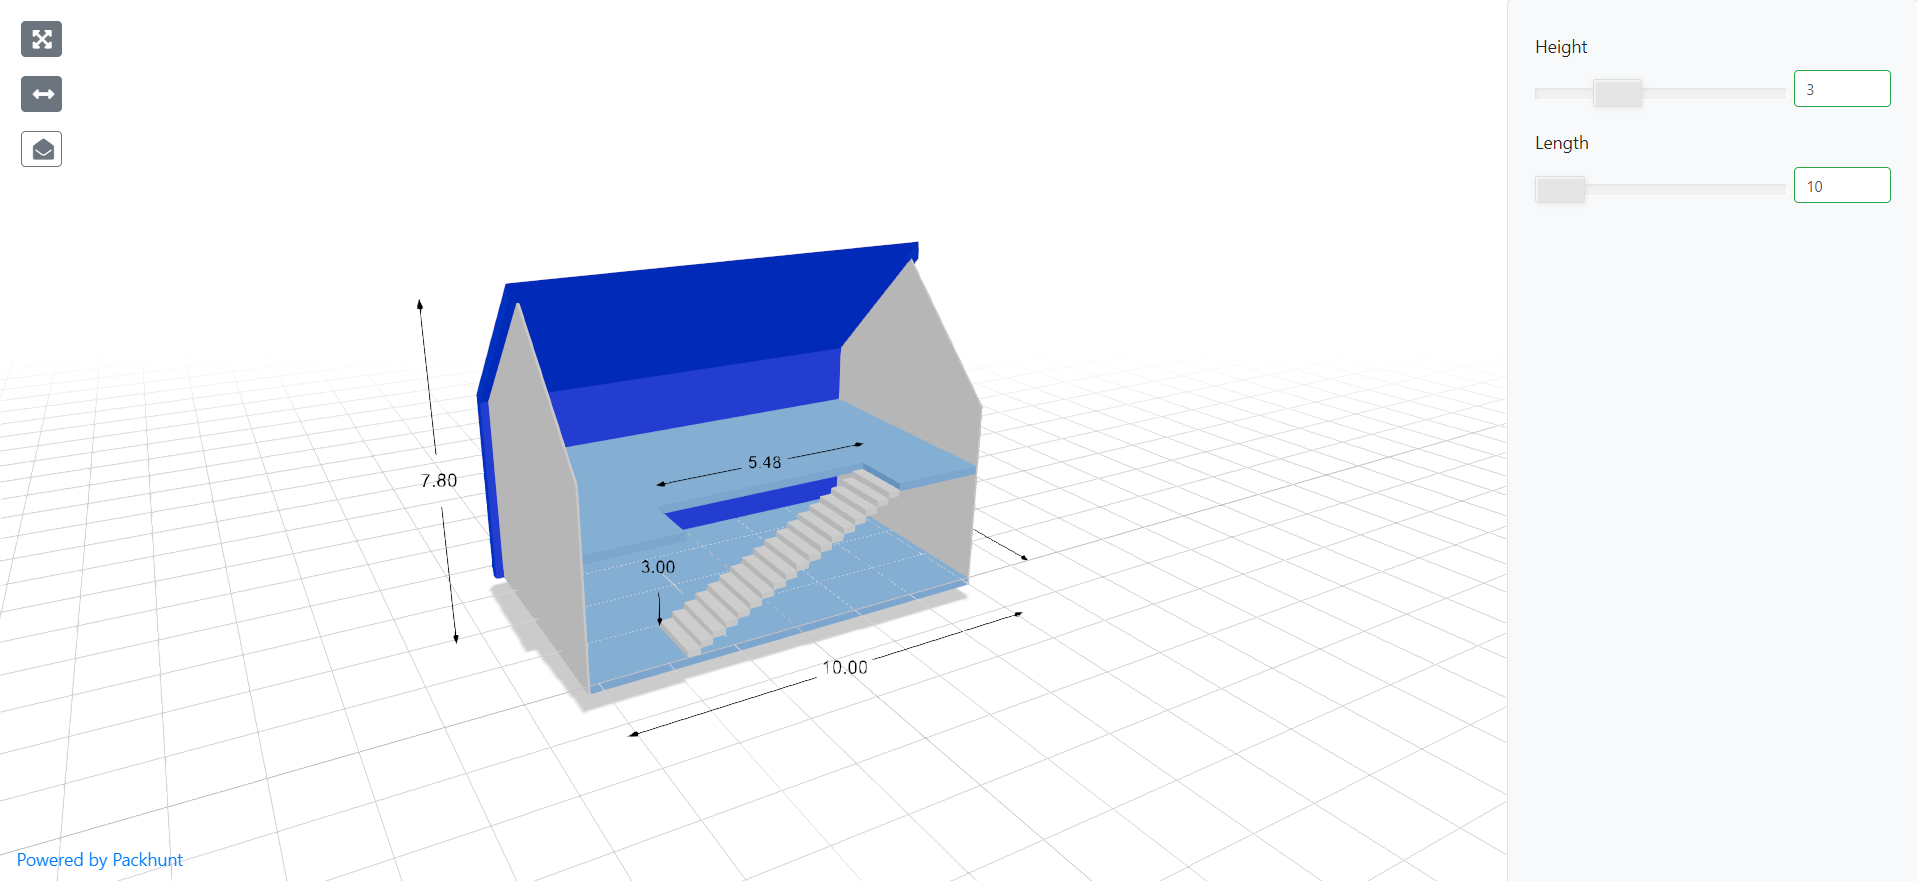
The solution should look like the image below.
Schema
See the viewerModelSubscribe schema docs and layerToggle schema docs for more information.