How to switch images
Introduction
Would you like to switch images based on an output from a Grasshopper model? Then set the image file path by following these steps.
Prerequisites
- You configured the frames and routes for your solution.
- You configured the relevant contents such as the model(s), viewer(s) and datastore.
1. Create a folder for your images
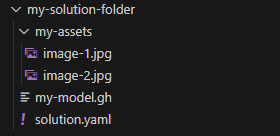
- Create a folder for your .jpg or .png images in the solution folder.
- Save your images to this folder.
The file structure should look like the image below:
❗ All the files in this folder will be converted to public assets with URL links. Therefore they can be downloaded by anyone with access to the links.
2. Define your assets folder path
- Configure the
assetsPathin your solution. - Define the path to your assets folder. You can specify it as
./my-assets.
The configuration should look similar to the example below:
kind: Solution
version: v0
assetsPath: ./my-assets
3. Define your Grasshopper logic for outputting an image path
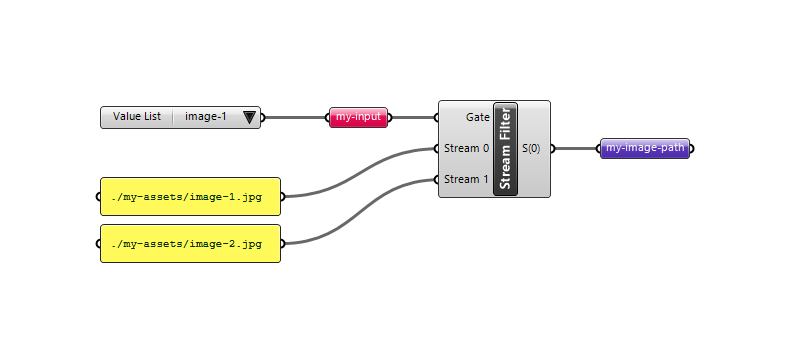
To display different images based on controls, your Rhino Grasshopper logic should output a valid image file path.
- Define the inputs that affect the displayed image and the conditions.
- Output the image file path based on these conditions.
- Connect the path to the Packhunt
Data outputcomponent.
See the image below for an example Grasshopper definition.
4. Add parametric inputs to your solution file
- Add the
controlsthat change the displayed image. - Define the
Modelentity for the Grasshopper definition which outputs an image path. - Subscribe the
Modelto theControlPanel.
💡 For more information, see the how-to guide for adding parametric inputs.
5. Define your image
- To add images, use the
Imageentity.
The configuration should look similar to the example below:
  my-image:
    kind: Image
6. Subscribe the image to the model
To change the displayed image based on the Grasshopper model output:
- Subscribe the
Imageto theModel. - Use the
setImagePathproperty to define the image path’s name that is output by the Grasshopper definition.
The configuration should look similar to the example below:
  my-image:
    kind: Image
    subscribe:
      - kind: Model
        frame: my-home-frame
        source: my-model
        setImagePath: my-image-path # must match GH model output
Example
This example illustrates how to configure different control types.
- Place the example Grasshopper definition in your solutions folder.
- Create a file
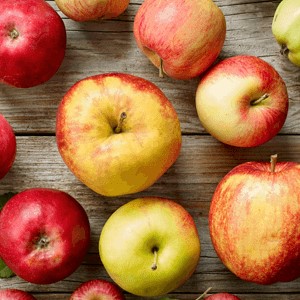
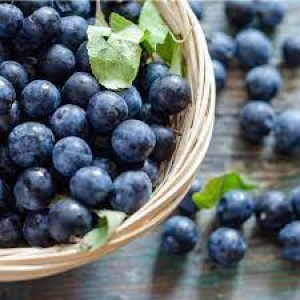
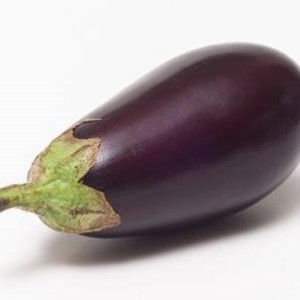
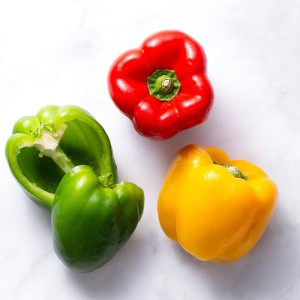
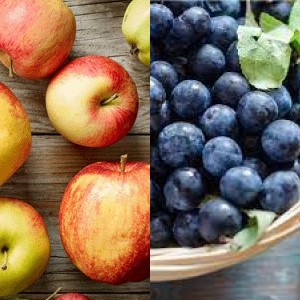
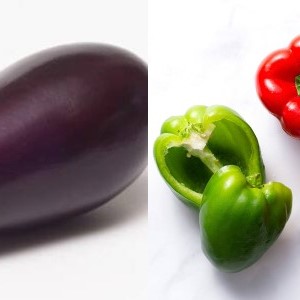
solution.yamlfile with the display different images solution file content. - Save the images apples-v1.jpg, blueberries-v1.jpg, eggplant-v1.jpg, peppers-v1.jpg, select-fruit-v1.jpg , select-food-v1.jpg and select-veggies-v1.jpg to your solution folder.
- Deploy using the cli:
ph deploy solution -o <org-slug> <solution-name>
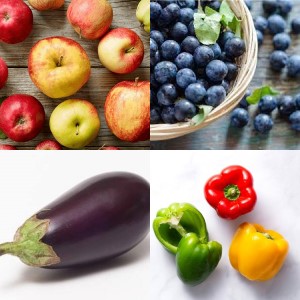
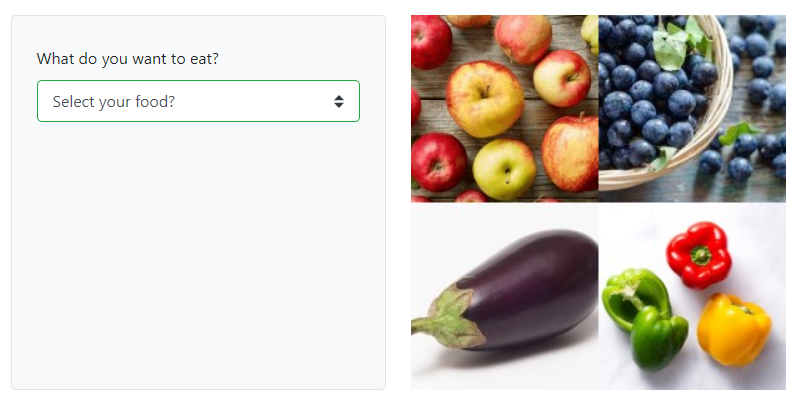
The solution should look like the image below.
Schema
See the imageConfig schema docs and imageModelSubscription for more information.