Routing with multiple frames
The diagram below shows an example where there are two independent frames, called first and second. The buttons allow you to switch between these two frames.
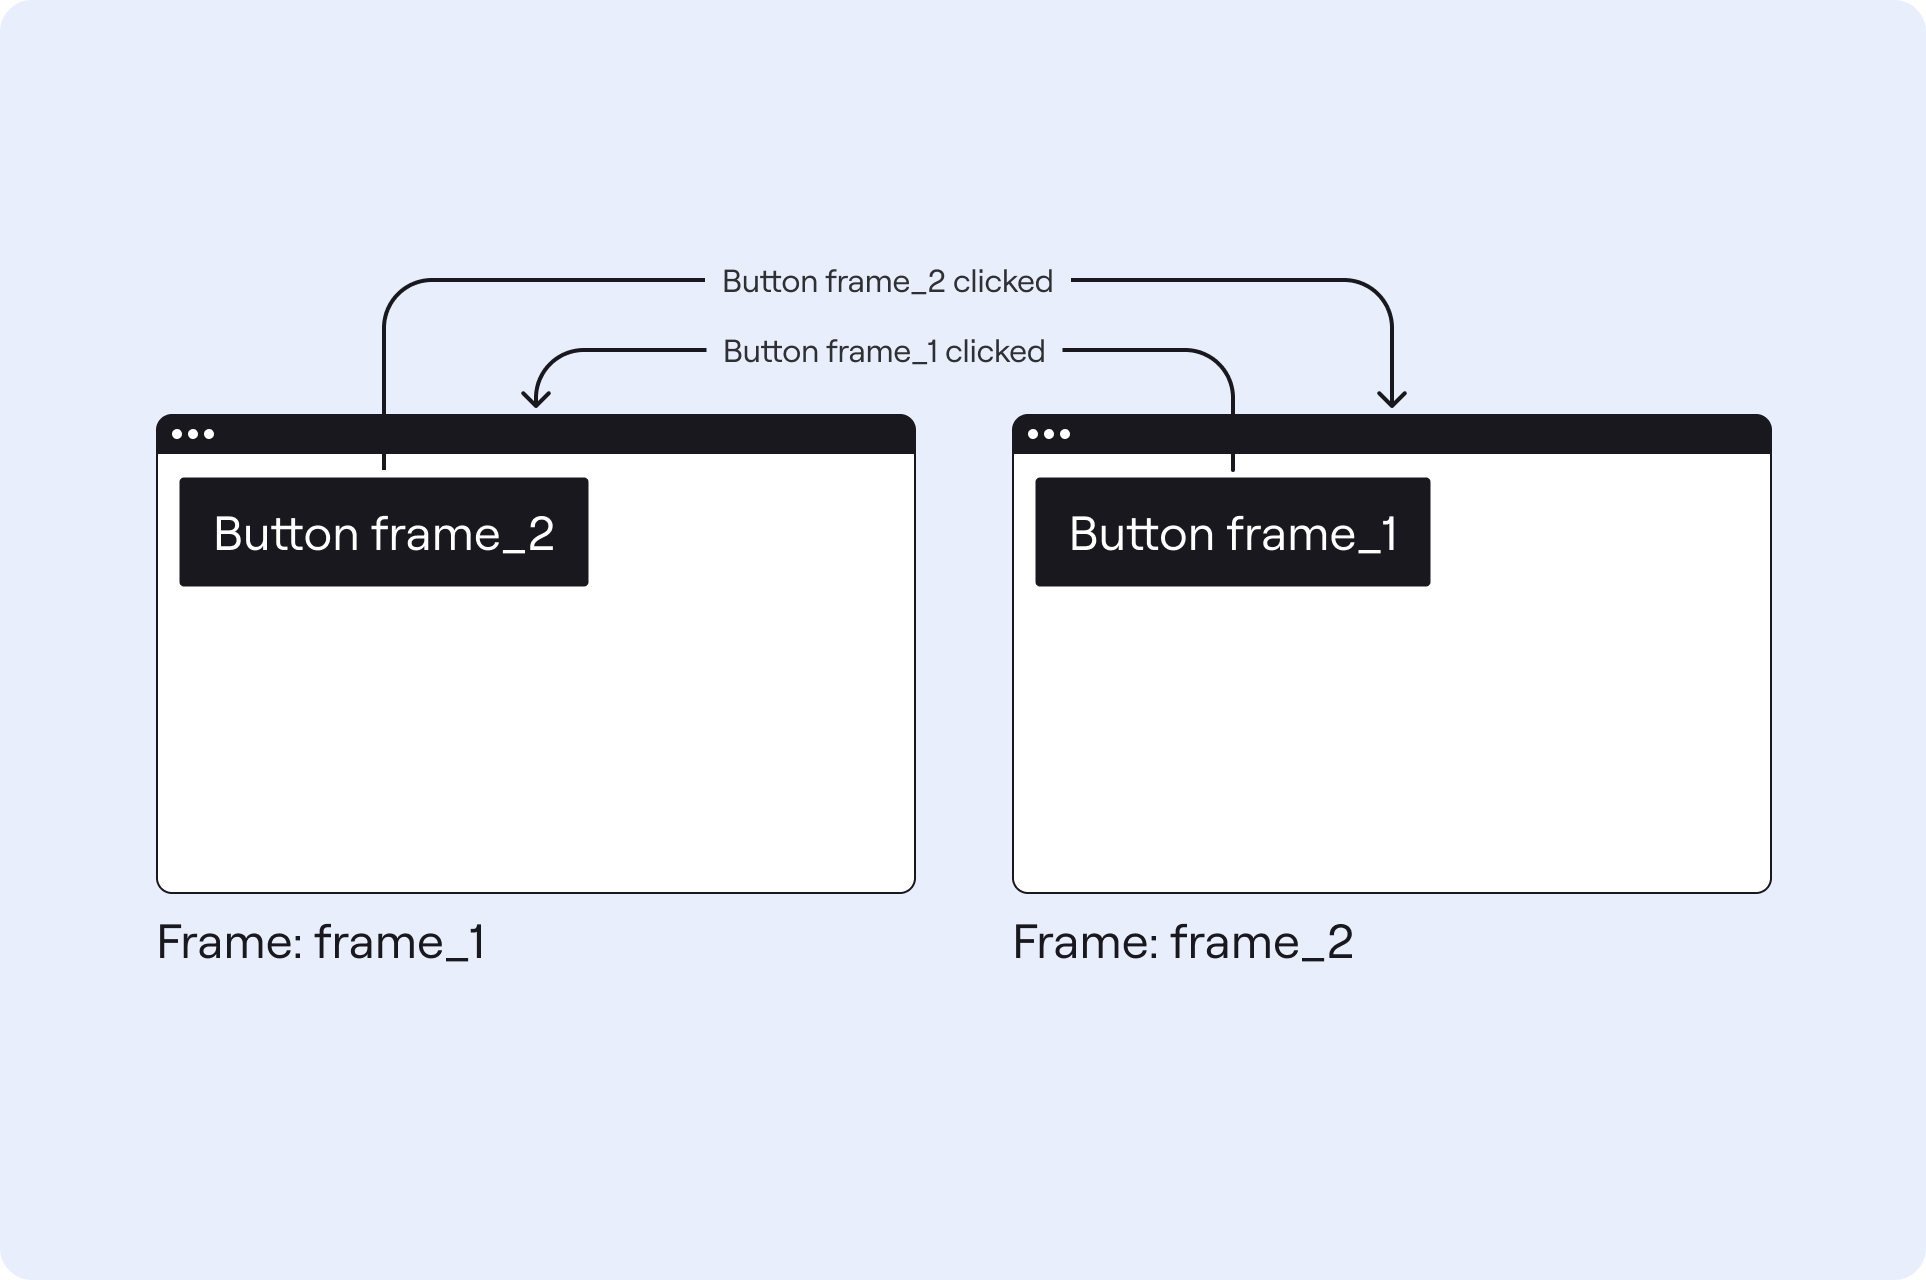
For the example, we have two possible router links:
/first: Shows frame 1./second: Shows frame 2.
Configuration
Below is the configuration file for this example.
kind: Solution
version: v0
router:
  kind: Router
  routes:
    - frame: first # routerLink /first
    - frame: second # routerLink /second
frames:
  # ====== FRAME FIRST ======
  first:
    kind: Frame
    layout:
      kind: ColumnLayout
      widths: [300px, auto]
      areas: [button, main]
    contents:
      button:
        kind: Button
        text: Go to frame 2
        routerLink: /second
  # ====== FRAME SECOND ======
  second:
    kind: Frame
    layout:
      kind: ColumnLayout
      widths: [300px, auto]
      areas: [button, main]
    contents:
      button:
        kind: Button
        text: Go to frame 1
        routerLink: /first
Paths and RouterLinks
The example above defines a router with two frames called first and second. Both frames are defined at the top level (i.e. there are no nested frames). This results in two possible router links, /first and /second.
Buttons
For linking to another web page, a Button is used. A Button has an optional routerLink where you can provide a link that consists of a series of paths, separated by forward slashes (/). These paths need to match the names of the frames defined in the router. Note that a router link always starts with a / and has no trailing /. For example, /a/b/c.
In the example above, the two frames each have a Button.
- The
Buttonon thefirstframe has the router link/second. When the button is clicked, it will load a web page showing thesecondframe. - The
Buttonon thesecondframe has the router link/first. When the button is clicked, it will load a web page showing thefirstframe.