How to create multi-step controls
Introduction
Would you like to guide users through a series of control panels? Then add multi-step control panels to your solution by following these steps.
Prerequisites
- You have a Rhino Grasshopper file you’d like to use for the solution.
1. Define the relation between frames
- Add the parent frame to the router. This frame will remain the same regardless of the steps.
- For instance, if you’d like to change only the control panels with each step then the model and viewer should be defined in the parent frame.
- Add children frame under the parent frame. These frames will change with each step.
- For instance, you can configure a different control panel in each children frame.
The configuration should look similar to the example below:
router:
  kind: Router
  routes:
    - frame: parent-frame
      children:
        - frame: step1-frame
        - frame: step2-frame
2. Configure the parent frame
- Configure the model and the viewer.
- Create a datastore containing all the inputs which are needed to run the model. The datastore stores and transfers data between different frames.
- Add a router outlet to display children frames within the parent frame.
The configuration should look similar to the example below:
parent-frame:
  kind: Frame
  contents:
    my-model: ...
    my-viewer: ...
    my-data-store:
      kind: DataStore
      value:
        width: 50
        height: 50
        depth: 50
        radius: 65
    my-router-outlet:
      kind: RouterOutlet
2. Configure the children frames
- Configure different frames for each step relating to the children frames.
- Configure the control panels within each children frame.
- To navigate between steps, configure a button in each children frame.
- Define the router link.
- In this case, to show the parent-frame with step2-frame in the RouterOutlet, the
routerLinkwould be/parent-frame/step2-frame.
The configuration should look similar to the example below:
frames:
  parent-frame: ...
  step1-frame:
      kind: Frame
      layout: ...
      contents:
        step1-controlpanel: ...
        my-next-button:
          kind: Button
          text: Next
          routerLink: /parent-frame/step2-frame
  step2-frame:
      kind: Frame
      layout: ...
      contents:
        step2-controlpanel: ...
        my-back-button:
          kind: Button
          text: Back
          routerLink: /parent-frame/step1-frame
3. Subscribe the datastore to the control panels
To update the datastore with the values from the control panels:
- Define subscriptions from the datastore to all of the the control panels.
- For each subscription, specify the target frame and the control panel.
The configuration should look similar to the example below:
my-data-store:
  kind: DataStore
  subscribe:
    - kind: ControlPanel
      frame: step1-frame
      source: step1-controlpanel
    - kind: ControlPanel
      frame: step2-frame
      source: step2-controlpanel
4. Subscribe the model to the datastore
The model should run based on the values from the datastore. To transfer data from the datastore to the model:
- Define a subscription from the model to the datastore.
- In the subscription, specify the target frame and the datastore.
❗ To visualise the geometry output from the model, subscribe the viewer to the model.
The configuration should look similar to the example below:
my-model:
  kind: model
  subscribe:
    - kind: DataStore
      frame: parent-frame
      source: my-data-store
💡 To display text outputs from the model in one of the control panels, subscribe the control panel to the model.
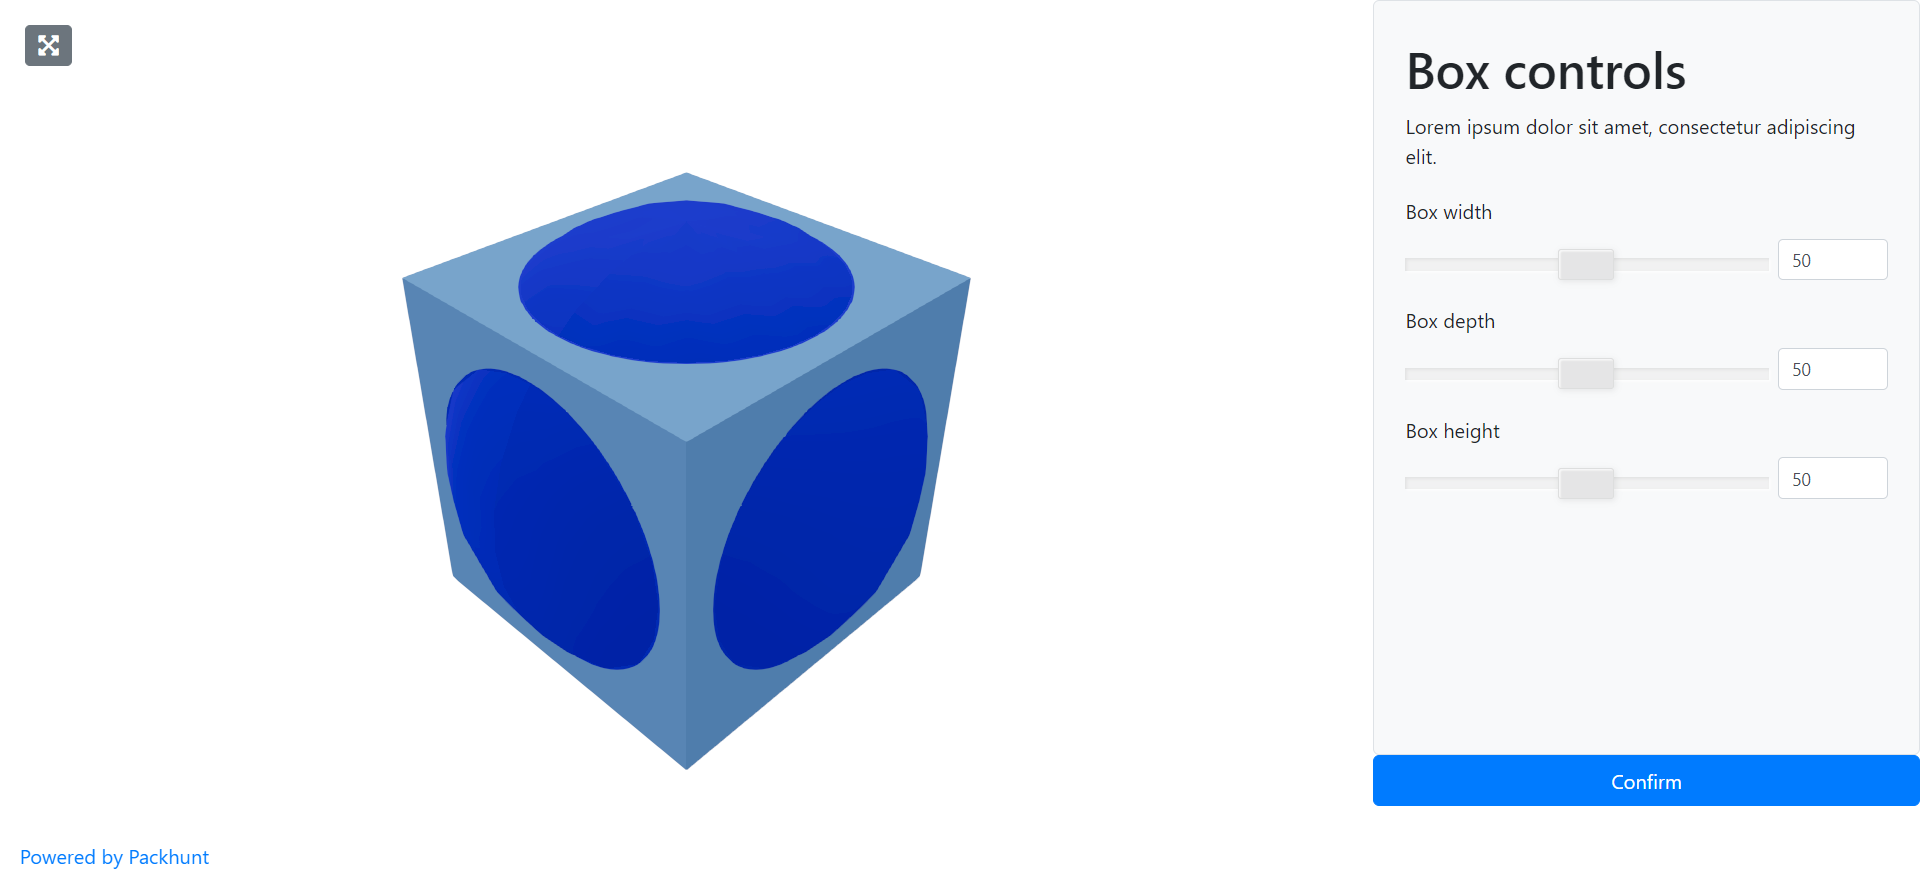
Example
- Place the example Grasshopper definition in your solutions folder.
- Create a file
solution.yamlfile with the DataStore example solution file content. - Deploy using the cli:
ph deploy solution -o <org-slug> <solution-name>
The solution should look like the image below.
Schema
See the dataStoreConfig schema docs and routerConfig schema docs for more information.