How to add a map to your solution
Introduction
Would you like to have a map to select a geographical location to use in your solution logic? Then add Map to your solution by following these steps.
Prerequisites
- You configured the frames and routes for your solution.
- You configured the relevant contents such as the model(s), viewer(s) and datastore.
- You have a Rhino Grasshopper definition using the Packhunt input components.
1. Add a map
- Create a
Mapwithin the relevant frame. - Optionally, define its
boundswhich define the visible area on the map. - Optionally, add a
placeMarkerwhich allows you to select a location.
The configuration should look similar to the example below:
my-map:
  kind: Map
  bounds: #Optional
    bottomLeft:
      latitude: 35.686200
      longitude: -11.350331
    topRight:
      latitude: 55.187442
      longitude: 27.035105
  placeMarker: #Optional
    title: Specify your location.
    text: Click 'ok' to specify your location.
    ok: OK
    cancel: Cancel
2. Optionally subscribe the model to the map
To transfer the selected point coordinates in the map to the model, the model should subscribe to the map.
- Define the subscription to the map under the model.
- In the subscription, specify the target frame and control panel.
- Define the name of the input that will be sent to your model once a location is selected, with
setInputFromMarkersproperty.
❗ The name given as setInputFromMarkers should match the input name in Grasshopper.
The configuration should look similar to the example below:
my-model:
  kind: model
  modelFile: my-grasshopper-file.gh
  subscribe:
    kind: Map
    source: my-map
    frame: home-frame
    setInputFromMarkers: location # should match the input name in Grasshopper
3. Optionally use the location input in Grasshopper
The location input will be sent to your model in a JSON as shown below.
"location": {
  "id": 1,
  "longitude": 9.7,
  "latitude": 42.7
}
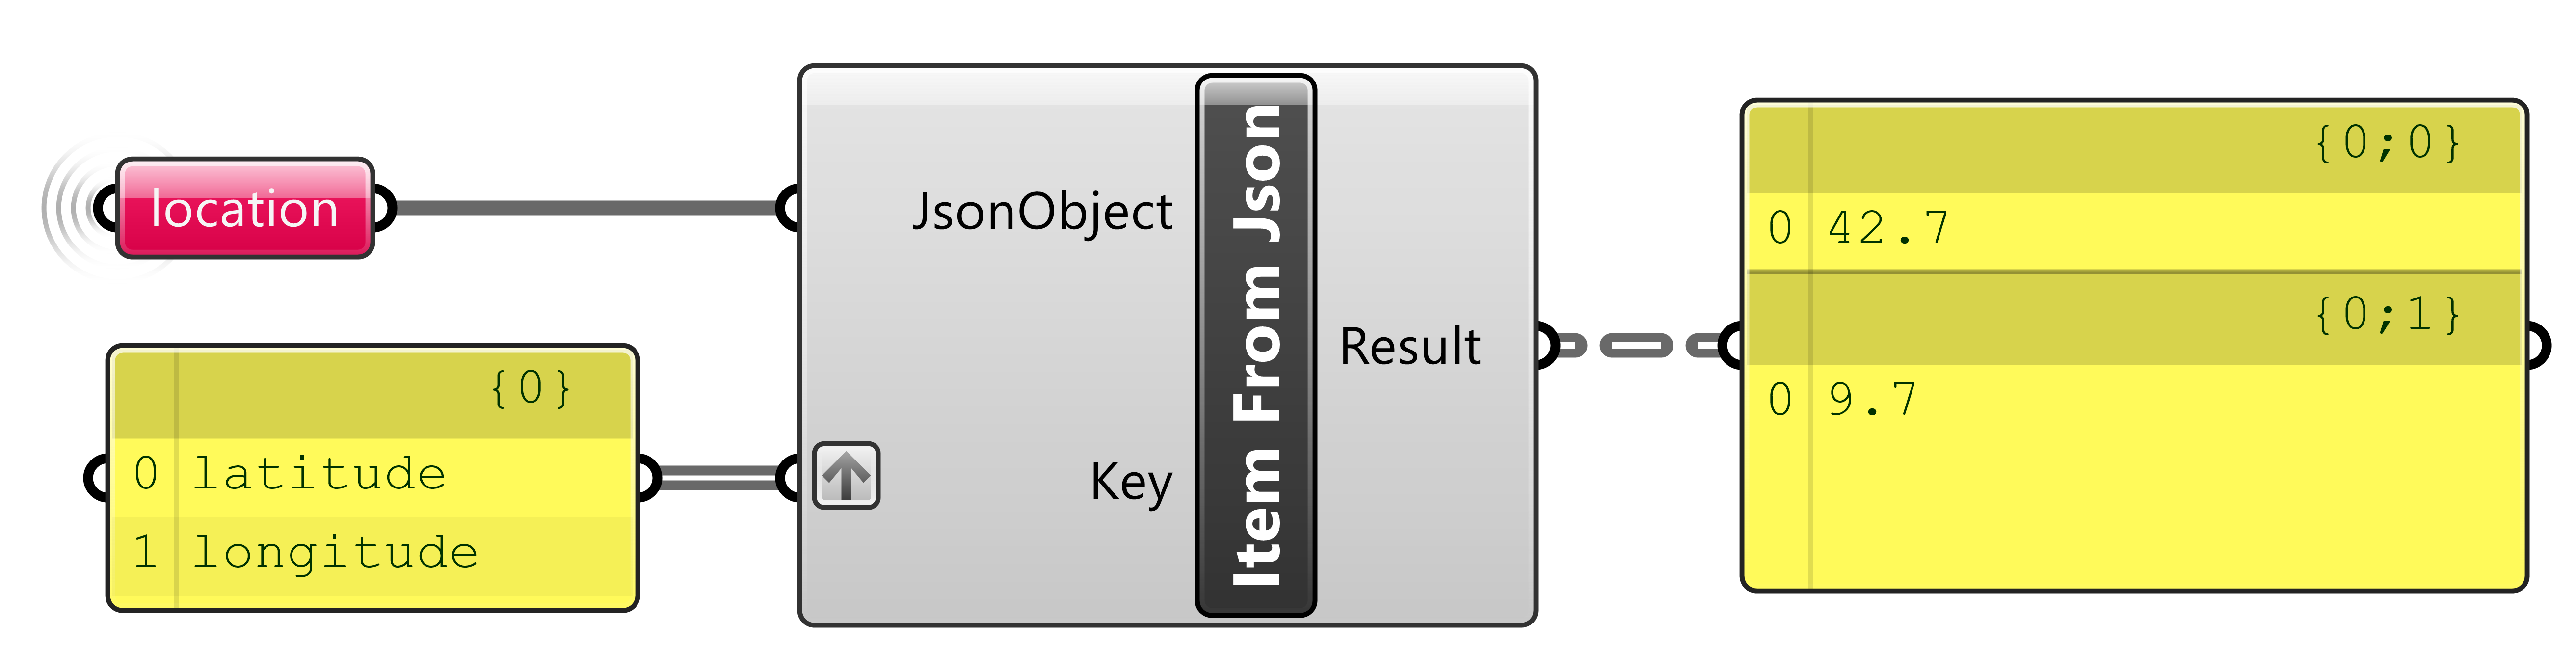
To access the longitude and latitude values, the steps below should be followed:
- Place a Packhunt
inputcomponent and name it according to the input name defined in the previous step. - Connect the
inputcomponent to the PackhuntItem from JSONcomponent. - Set the
keytolatitudeand/orlongitude. - Use the values for your Grasshopper logic.
Example
This example illustrates how to configure different control types.
- Create a file
solution.yamlfile with the map example solution file content. - Place the example Grasshopper definition in your solutions folder.
- Deploy using the cli:
ph deploy solution -o <org-slug> <solution-name>
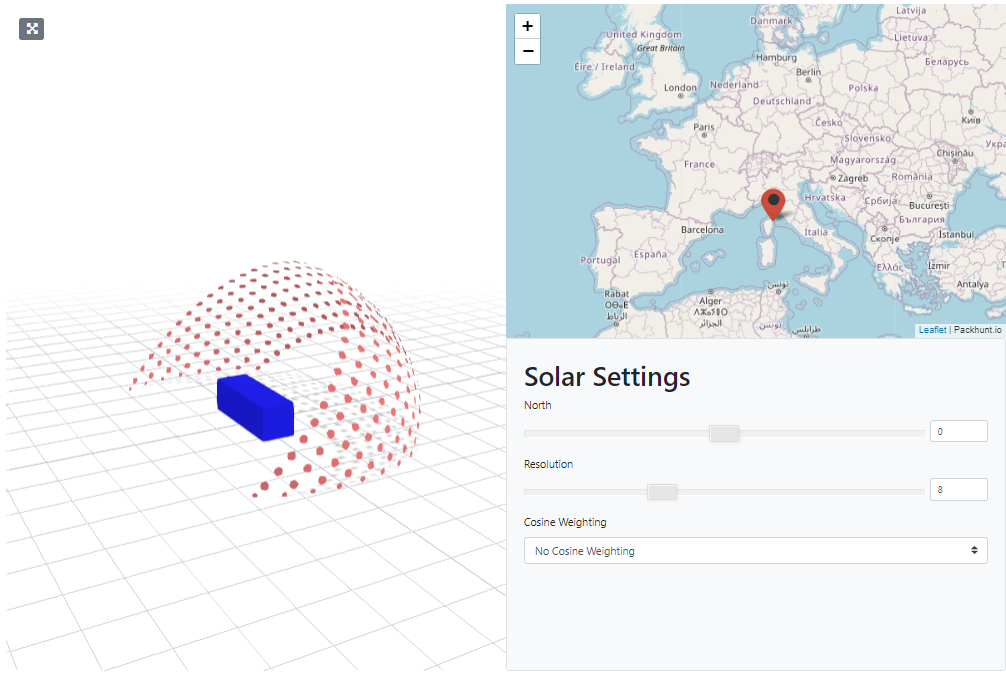
The solution should look like the image below.
Schema
See the MapConfig schema docs and modelMapSubscribe schema docs for more information.