How to add a navigation panel
A how-to guide for adding a navigation panel to your solution
Introduction
Would you like to guide users through a series of frames? Then add a navigation panel to your solution by following these steps.
Prerequisites
- You configured the parent and children frames along with the routes for your solution.
- You configured the relevant contents such as the model(s), control panel(s), viewer(s) and datastore.
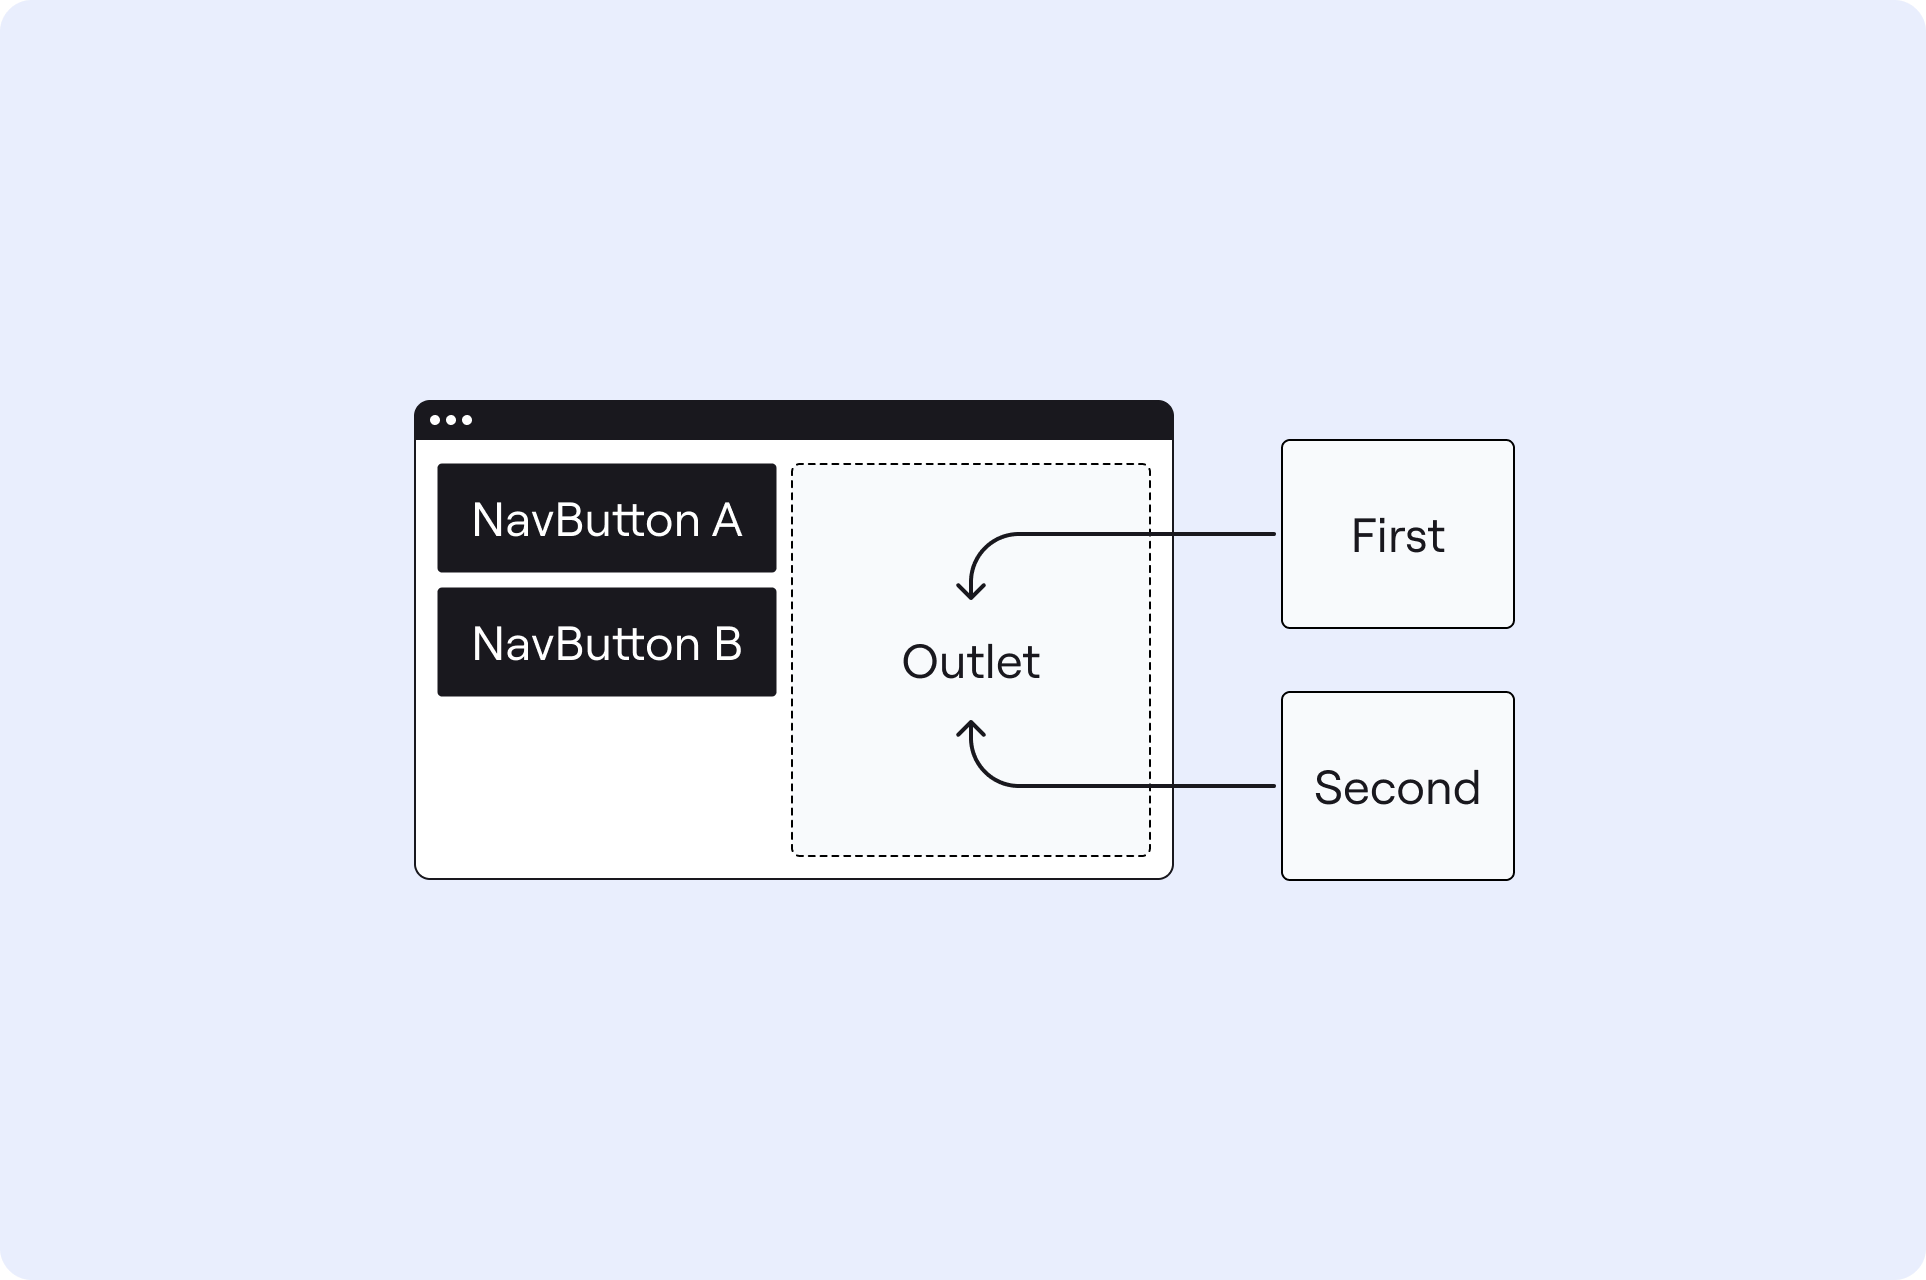
1. Add a router outlet to the parent frame
- To display different frames, configure a router outlet in the parent frame.
- Define the location of the router outlet in the frame layout.
The configuration should look similar to the example below:
parent-frame:
    kind: Frame
    layout:
      kind: ColumnLayout
      areas: [my-navigation, my-outlet]
      widths: [300px, auto]
    contents:
      my-outlet:
        kind: RouterOutlet
2. Configure a navigation panel in the parent frame
- Add a navigation panel to the parent frame with
kind: NavPanel. - Define whether the navigation buttons are organised in a
horizontalorverticalmanner. - Define the
typeof the navigation buttons. It can beicon,numberorbutton. - Configure the navigation
items.- They can be
NavIcon,NavNumberorNavButton. - Define the
texton the buttons. - Define which
framethe buttons display.
- They can be
The configuration should look similar to the example below:
  my-navigation:
    kind: NavPanel
    orientation: vertical
    type: button
    items:
      - kind: NavButton
        text: First frame
        frame: first
      - kind: NavButton
        text: Second frame
        frame: second
❗ Don’t forget define the location of the navigation panel in the frame layout.
3. Subscribe the navigation panel to the router outlet
To highlight the buttons in order to indicate the currently displayed frame, the navigation panel should subscribe to the router outlet.
The configuration should look similar to the example below:
  my-navigation:
    kind: NavPanel
    orientation: vertical
    type: button
    subscribe:
      - kind: RouterOutlet
        frame: home-frame
        source: my-outlet
    items: ...
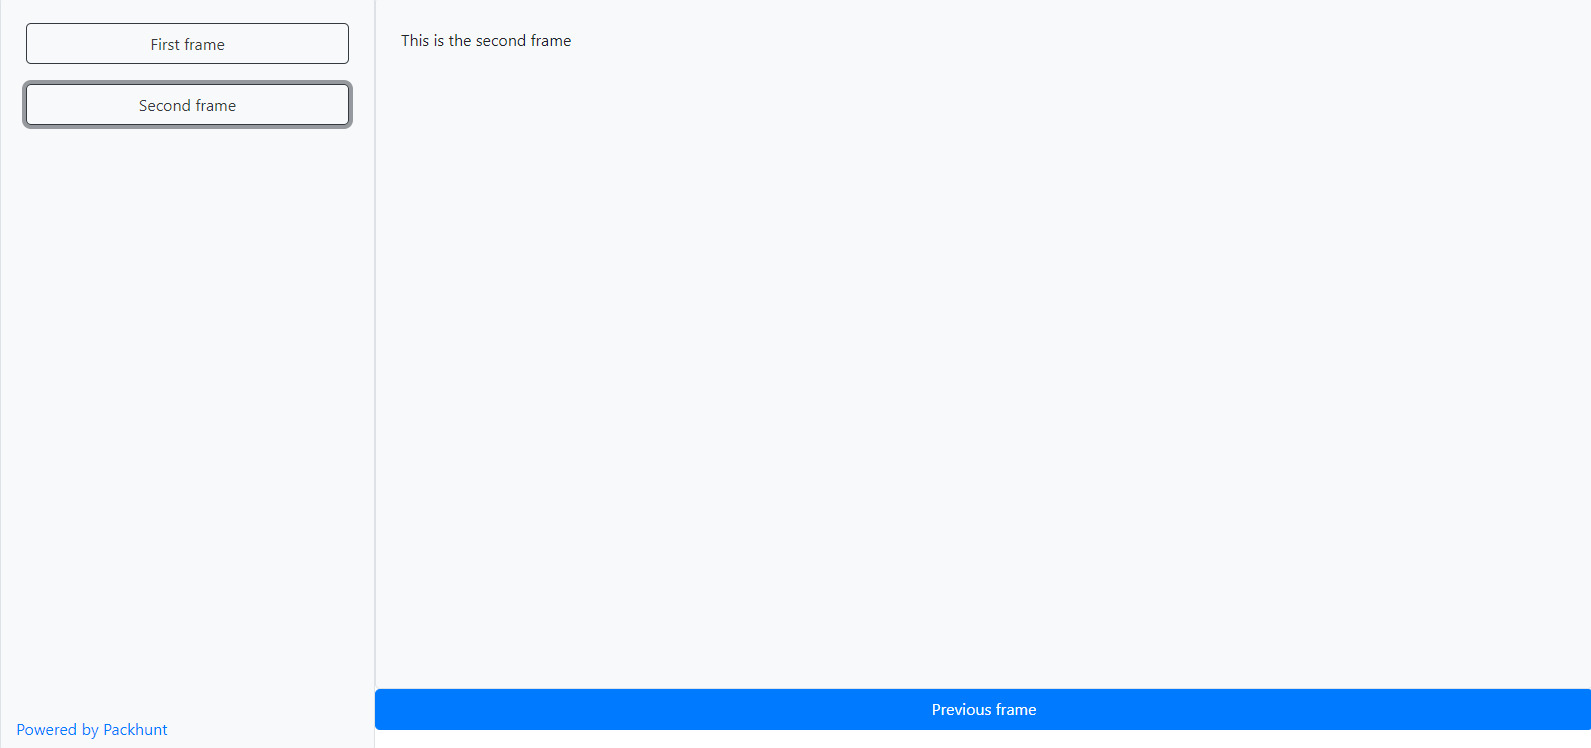
Example
-
- Create a file
solution.yamlfile with the navigation example solution file content.
- Create a file
- Deploy using the cli:
ph deploy solution -o <org-slug> <solution-name>
The solution should look like the image below.
Schema
See the navPanelConfig schema docs for more information.