How to show static geometries
Introduction
Would you like to show non-parametric geometries without running your Rhino Grasshopper model for faster-solving solutions? Then display static geometry in the viewer by following these steps.
Prerequisites
- You configured the frames and routes for your solution.
- You configured the relevant contents such as the model(s), control panel(s), viewer(s) and datastore.
1. Prepare your geometry file
💡 Different file formats can be used to display geometries in the viewer, including .3dm, .3mf, .3ds, .amf, .ai, .dwg, .dxf, .x, .e57, .dst, .exp, .off, .gf, .gft, .gltf, .glb, .gts, .igs, .iges, .lwo, .dgn, .fbx, .obj, .pdf, .ply, .asc, .csv, .xyz, .pts, .cgo_ascii, .cgo_asci, .txt, .raw, .m, .svg, .skp, .slc, .sldprt, .sldasm, .stp, .step, .stl, .vda, .wrl, .vrml, .iv, .gdf files. This how-to guide focuses on .obj files as an example.
To display the static object(s) in the viewer correctly, make sure that:
- Your static geometries are positioned correctly in your preferred 3D graphics software.
- The object file is saved with .obj extension.
- The object file is saved in the relevant solution folder.
❗ While exporting an object from your preferred 3D graphics software, you may need to change the plane settings. If you’re using Rhino 7 for exporting an .obj file:
- Select your geometry and export as .obj.
- When the “OBJ Export Options” pop up, navigate to the “Formatting” tab.
- Uncheck the “Map Rhino Z to OBJ Y” setting.
- When the “Polygon Mesh Options” pop up, it is advised to try using “Fewer polygons” at first, and to only increase the polygons if necessary. (A high number of polygons may negatively impact performance.)
2. Add objects to the viewer
- Define
objectswithkind: Objunder the viewer configuration. - Refer to the relevant object file in the solution folder.
3. Define the material for your static object (optional)
- Under the
materials, define the material for the static object. - Assign the
materialto the object under theobjectsconfiguration.
💡 You can optionally assign layers to the objects to hide/unhide them in the solution.
The configuration should look similar to the example below:
  my-viewer:
    kind: Viewer
    materials: #optional
      my-blue-mat:
        kind: StandardMaterial
        color: [120, 100, 255]
    objects:
      - kind: Obj
        objFile: blocks.obj
        material: my-blue-mat #optional
        layers: [1] #optional
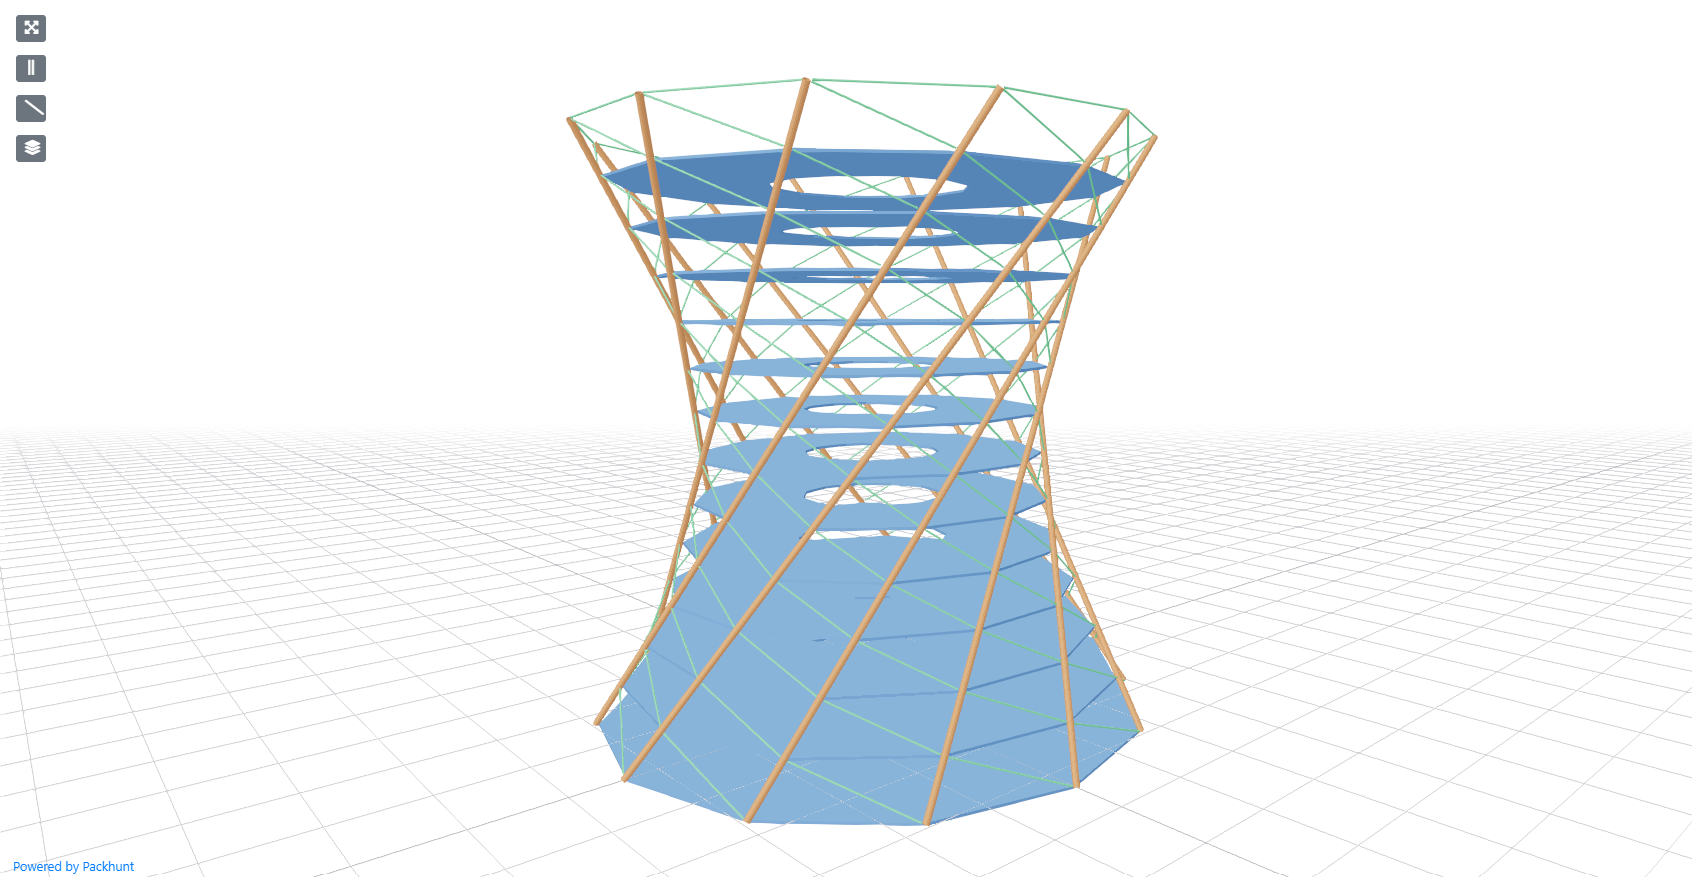
See the image below as an example.

Configuration
See the objectConfig configuration docs for more information.