How to create multi-step controls
Introduction
Would you like to guide users through a series of control panels? Then add multi-step control panels to your solution by following these steps.
Prerequisites
- You have a Rhino Grasshopper file you’d like to use for the solution.
1. Define the relation between frames
- Add the parent frame to the router. This frame will remain the same regardless of the steps.
- For instance, if you’d like to change only the control panels with each step then the model and viewer should be defined in the parent frame.
- Add children frame under the parent frame. These frames will change with each step.
- For instance, you can configure a different control panel in each children frame.
The configuration should look similar to the example below:
router:
  kind: Router
  routes:
    - frame: parent-frame
      children:
        - frame: step1-frame
        - frame: step2-frame
2. Configure the parent frame
- Configure the model and the viewer.
- Create a datastore containing all the inputs which are needed to run the model. The datastore stores and transfers data between different frames.
- Add a router outlet to display children frames within the parent frame.
The configuration should look similar to the example below:
parent-frame:
  kind: Frame
  contents:
    my-model: ...
    my-viewer: ...
    my-data-store:
      kind: DataStore
      value:
        width: 50
        height: 50
        depth: 50
        radius: 65
    my-router-outlet:
      kind: RouterOutlet
2. Configure the children frames
- Configure different frames for each step relating to the children frames.
- Configure the control panels within each children frame.
- To navigate between steps, configure a button in each children frame.
- Define the router link.
- In this case, to show the parent-frame with step2-frame in the RouterOutlet, the
routerLinkwould be/parent-frame/step2-frame.
The configuration should look similar to the example below:
frames:
  parent-frame: ...
  step1-frame:
      kind: Frame
      layout: ...
      contents:
        step1-controlpanel: ...
        my-next-button:
          kind: Button
          text: Next
          routerLink: /parent-frame/step2-frame
  step2-frame:
      kind: Frame
      layout: ...
      contents:
        step2-controlpanel: ...
        my-back-button:
          kind: Button
          text: Back
          routerLink: /parent-frame/step1-frame
3. Subscribe the datastore to the control panels
To update the datastore with the values from the control panels:
- Define subscriptions from the datastore to all of the the control panels.
- For each subscription, specify the target frame and the control panel.
The configuration should look similar to the example below:
my-data-store:
  kind: DataStore
  subscribe:
    - kind: ControlPanel
      frame: step1-frame
      source: step1-controlpanel
    - kind: ControlPanel
      frame: step2-frame
      source: step2-controlpanel
4. Subscribe the model to the datastore
The model should run based on the values from the datastore. To transfer data from the datastore to the model:
- Define a subscription from the model to the datastore.
- In the subscription, specify the target frame and the datastore.
❗ To visualise the geometry output from the model, subscribe the viewer to the model.
The configuration should look similar to the example below:
my-model:
  kind: model
  subscribe:
    - kind: DataStore
      frame: parent-frame
      source: my-data-store
💡 To display text outputs from the model in one of the control panels, subscribe the control panel to the model.
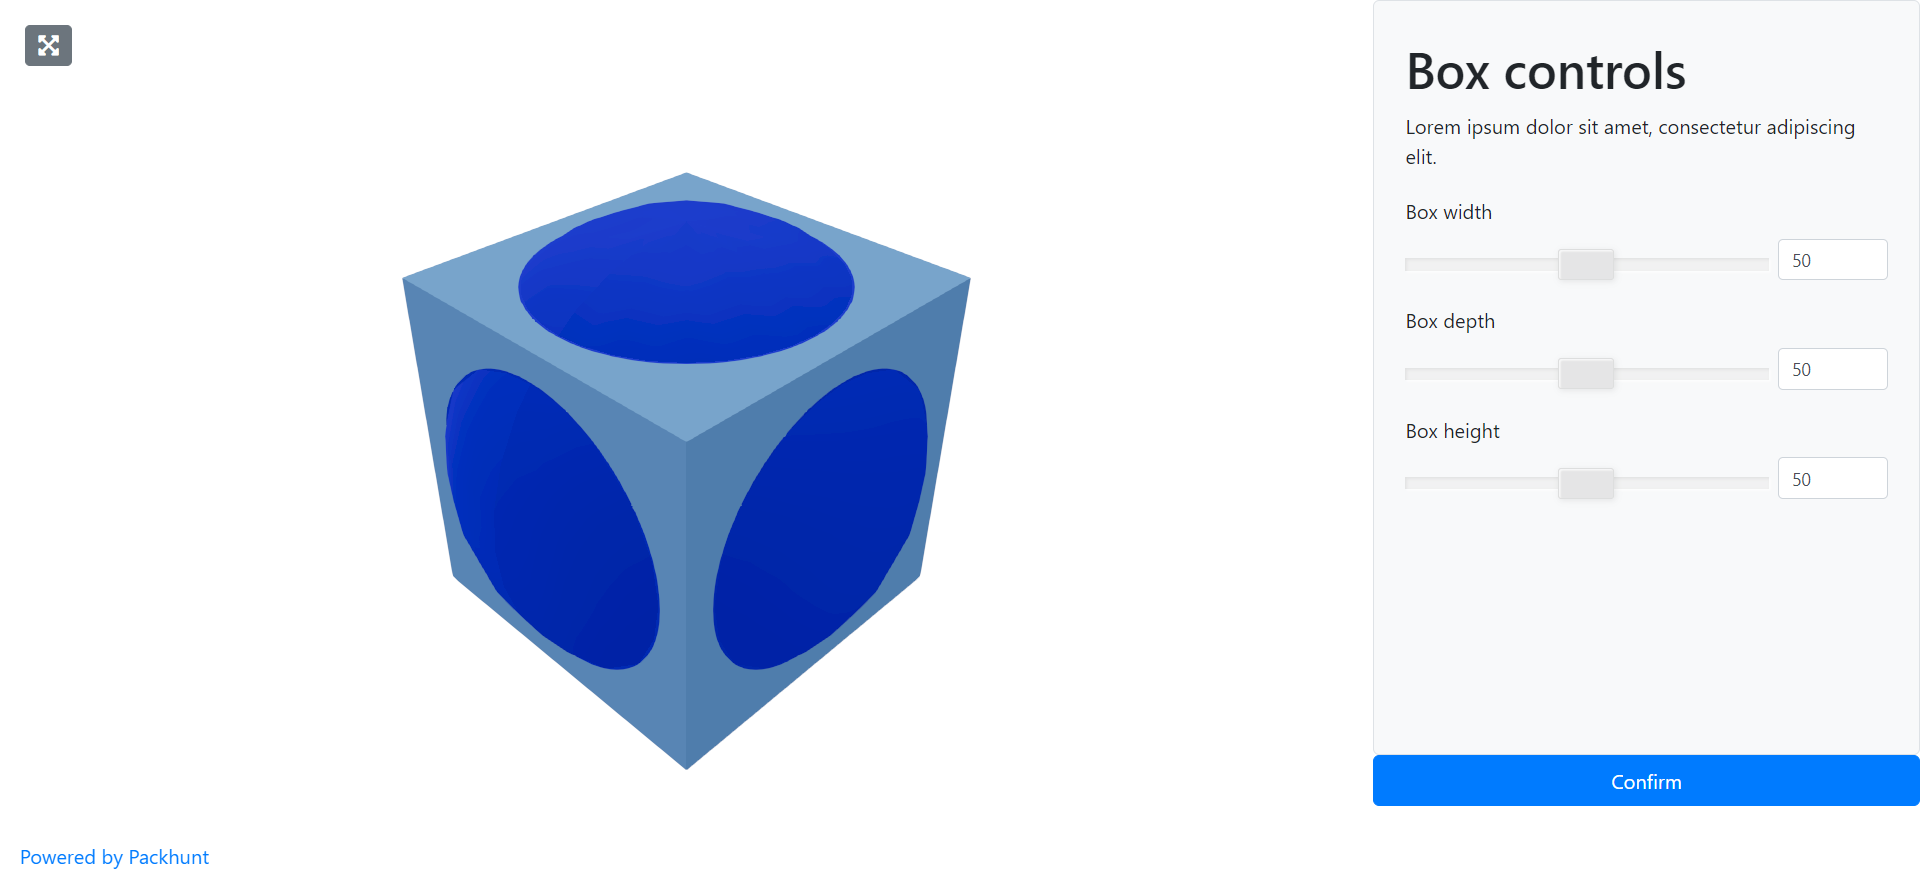
See the image below as an example.

Configuration
See the dataStoreConfig configuration docs and routerConfig configuration docs for more information.