How to define the pages and their flow
A how to guide for defining the pages and their flow of your solution.
To define the customer journey of your web-app, you need to define the pages and how they flow in your solution with router and frames. Add your router and a frame by following these steps.
Prerequisites
- You completed the installation steps.
- You created your solution folder by following the initial set up how to guide.
1. Configure your router
To define the hierarchy of the frames, configure your Router.
- Add the
routerto your solution.yaml file, withkind: Router. - Define your
routesby adding yourframes to it.
For a simple web-app with one frame, the configuration should look similar to the example below:
kind: Solution
version: v0
router:
  kind: Router
  routes:
    - frame: my-main-frame #Should match the frame name added to the frames
2. Add your frame
To define what is visible and what is happening per page of your web-app, configure a frame.
- Add
framesto your configuration. - Define your frame, by it’s name and
kind: Frame.- The name of your frame should match what’s configured in the router.
kind: Solution
version: v0
router:
  kind: Router
  routes:
    - frame: my-main-frame
frames:
  my-main-frame: #Should match the frame added to the router
    kind: Frame
3. Validate your frame configuration
Routers and frames aren’t visible on their own. To test your frame, add a Text block to it.
- Configure
contentsof your frame. The contents can be blocks. - Define the name of your block, and configure it with
kind: Text. - Define the
text, you’d like to read in the solution.
kind: Solution
version: v0
router:
kind: Router
routes:
- frame: my-main-frame
frames:
my-main-frame: #Should match the frame added to the router
kind: Frame
contents:
my-text:
kind: Text
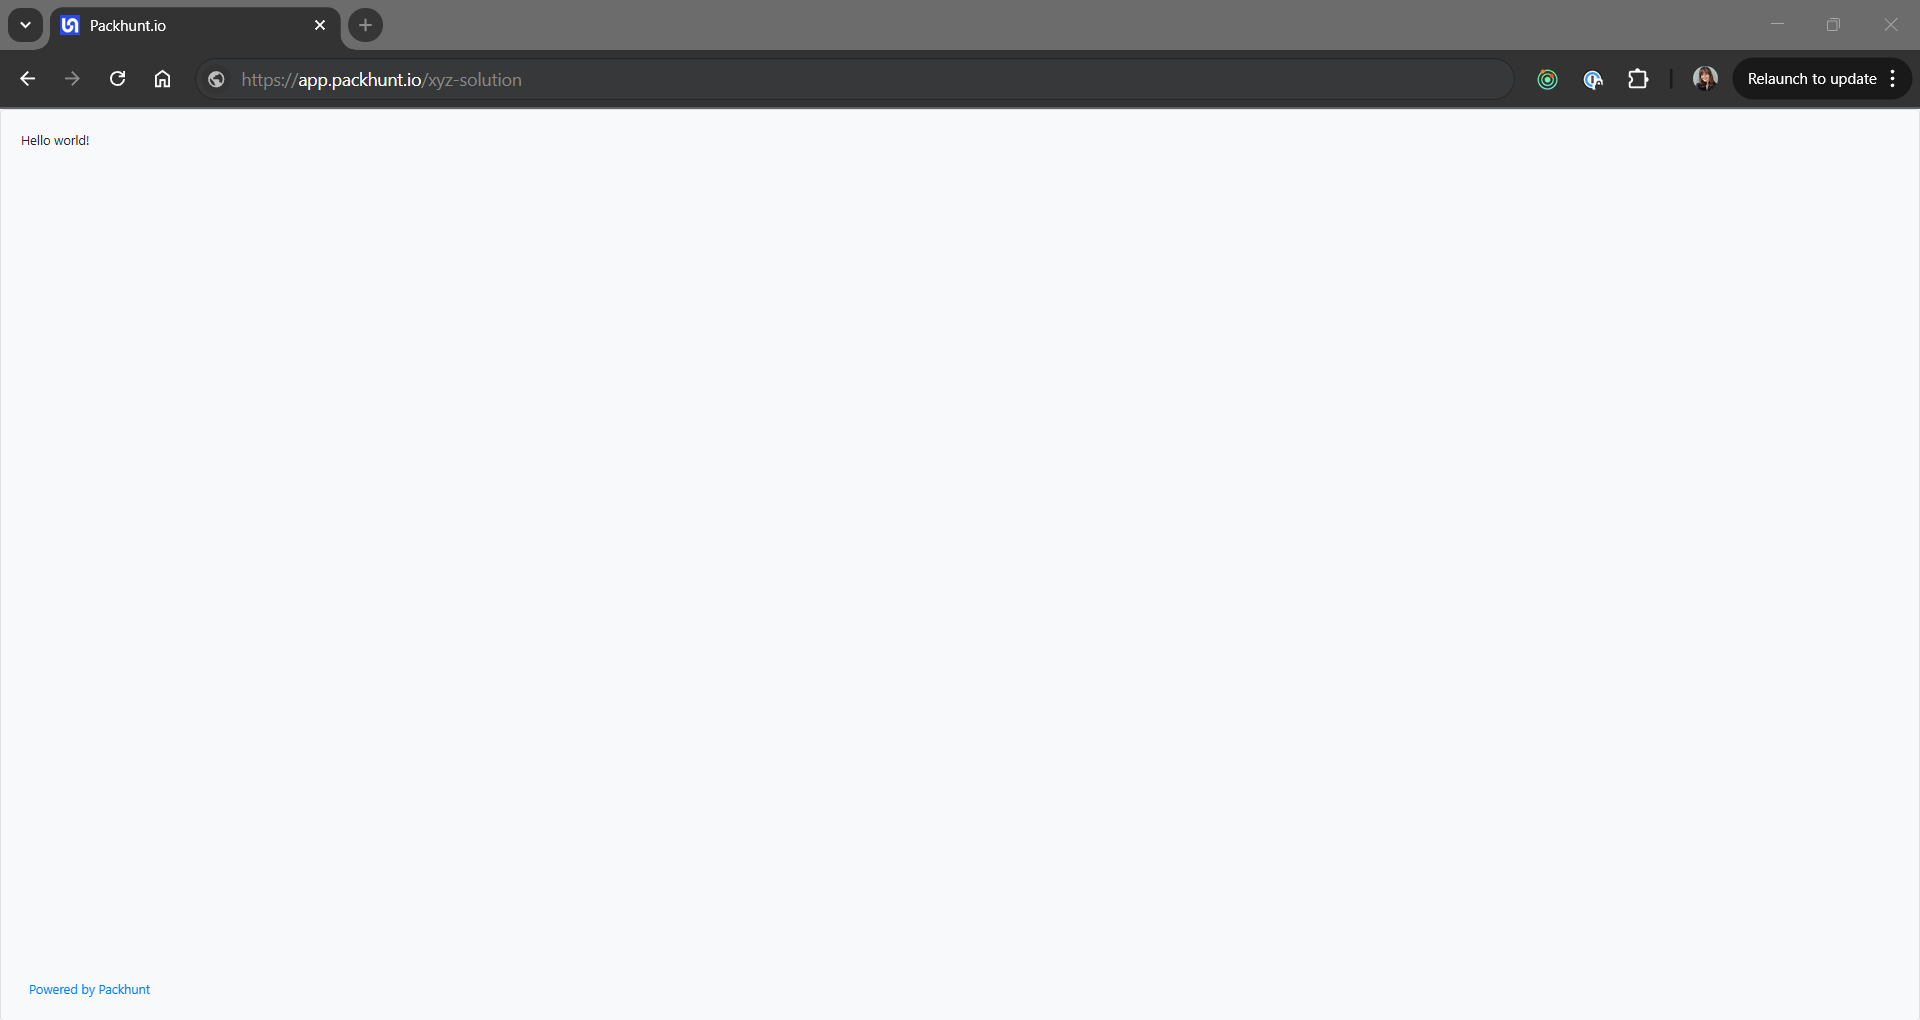
text: Hello world!
After following the steps above and deploying, your web-app should look like the image below.
Configuration
See the router configuration docs and frame configuration docs for more information.