How to apply materials and textures
Introduction
Would you like to display your geometry with different material and textures? Then define your materials and textures by following these steps.
Prerequisites
- You configured the frames and routes for your solution.
- You configured the relevant contents such as the model(s), control panel(s), viewer(s) and datastore.
- You have a Rhino Grasshopper definition using the Packhunt data output component.
1. Define materials
To assign materials to the incoming geometries, the materials should be defined in the viewer. You can use the StandardMaterial or PhysicalMaterial to visualize your geometries.
Transparent materials
For materials with colour and transparency:
- Define your materials with
kind: StandardMaterial. - Set the material colour with the RGB codes.
- Set the
opacityto a value between 0.0 (fully transparent) and 1.0 (opaque).
💡 This type of material configuration can be used for schematic visualization purposes.
The configuration should look similar to the example below:
  my-viewer:
    kind: Viewer
    materials:
      my-transparent-material:
        kind: StandardMaterial
            color: [255, 255, 255]
            opacity: 0.2
The material configuration above gives the results below:
Glass-like materials
For materials with more advanced glass-like effects:
- Define your materials with
kind: PhysicalMaterial. - Set the material colour with the RGB codes.
- Set the
transmissionto a value between 0.0 (opaque) and 1.0 (fully transparent). This value defines the optical transparency. - Set the
roughnessto a value between 0.0 (reflective) and 1.0 (matte). Materials with high roughness appear matte while materials with low roughness appear shiny and smooth. - Set the
ior, index of refraction, to a value between 0.0 and 2.33. This value defines the light-bending ability of the material. For example, the refractive index of glass is typically 1.5. - Set the
thicknessto define the volume beneath the surface. If the value is 0 the material is thin-walled. Otherwise, the material is a volume boundary.
💡 This material configuration gives more life-like results. But the rendering engine’s ability to render glass objects behind other glass objects is limited.
The configuration should look similar to the example below:
  my-viewer:
    kind: Viewer
    materials:
      my-glass-material:
        kind: PhysicalMaterial
            color: [255, 255, 255]
            transmission: 1
            roughness: 0
            ior: 1.5
            thickness: 1
The material configuration above gives the results below:
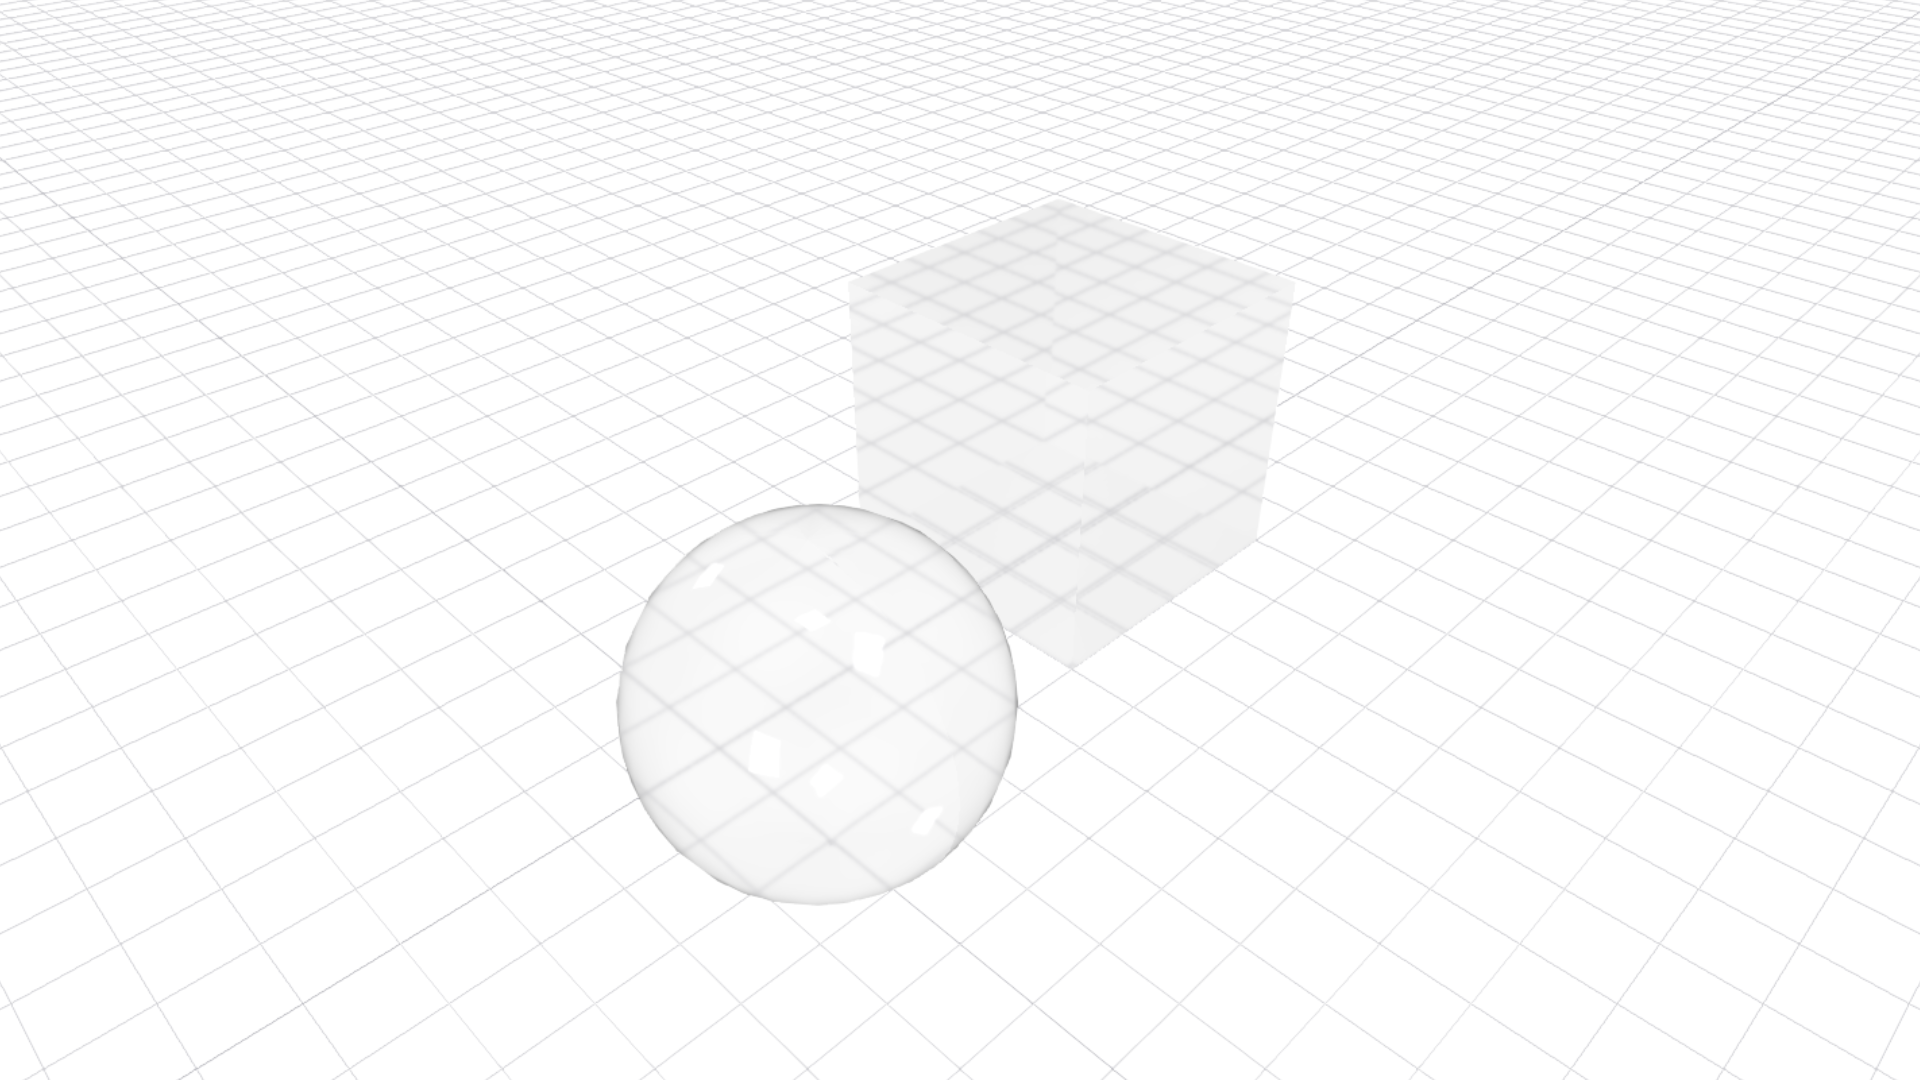
Materials with textures
For materials with texture maps:
- Define your materials with
kind: StandardMaterial. - Download the texture maps for the selected texture.
You can download the texture maps listed below in a zip file from sites such as https://polyhaven.com/ and https://ambientcg.com/.
- Diffuse map for the diffuse colour texture
- AO/Rough/Metal map for three textures (Ambient occlusion, Roughness, and Metalness)
- Normal (GL) for the normal map
- Diffuse map for the diffuse colour texture
💡 It’s advised to use JPG textures and to scale them down to decrease the file size for a faster solution. You can use the command-line tool called ImageMagick to scale the textures to 256x256 pixels or to 512x512 pixels.
- Save the texture maps to your assets folder.
- Define the
physicalDimensions. This property defines the size of the texture map. For example, for a 40x40x40 cube if the physicalDimensions is set to [20,20], the texture would repeat twice on each face. - Assign the downloaded texture maps to the
texturePathin the relevantTextureMapconfigurations.- diffuseColorMap includes the colour information of the texture.
- normalMap affects the way that the material colour is lit and creates the illusion of dents and bumps on the surface.
- aoMap defines areas on the material where diffuse light is occluded and creates soft shadowing.
- roughnessMap defines the roughness of the material and gives the material a shiny or matte look.
- metalnessMap defines how much the material looks like a metal.
The configuration should look similar to the example below:
  my-viewer:
    kind: Viewer
    materials:
      my-rock-mat:
        kind: StandardMaterial
        color: [255, 255, 255]
        # https://polyhaven.com/a/rock_face_03
        physicalDimensions: [10, 10]
        diffuseColorMap:
          kind: TextureMap
          texturePath: assets/low-res/rock_face_03_diff_256.jpg
        normalMap:
          kind: TextureMap
          texturePath: assets/low-res/rock_face_03_nor_gl_256.jpg
        aoMap:
          kind: TextureMap
          texturePath: assets/low-res/rock_face_03_arm_256.jpg
        roughnessMap:
          kind: TextureMap
          texturePath: assets/low-res/rock_face_03_arm_256.jpg
        metalnessMap:
          kind: TextureMap
          texturePath: assets/low-res/rock_face_03_arm_256.jpg
The material configuration above gives the results below:
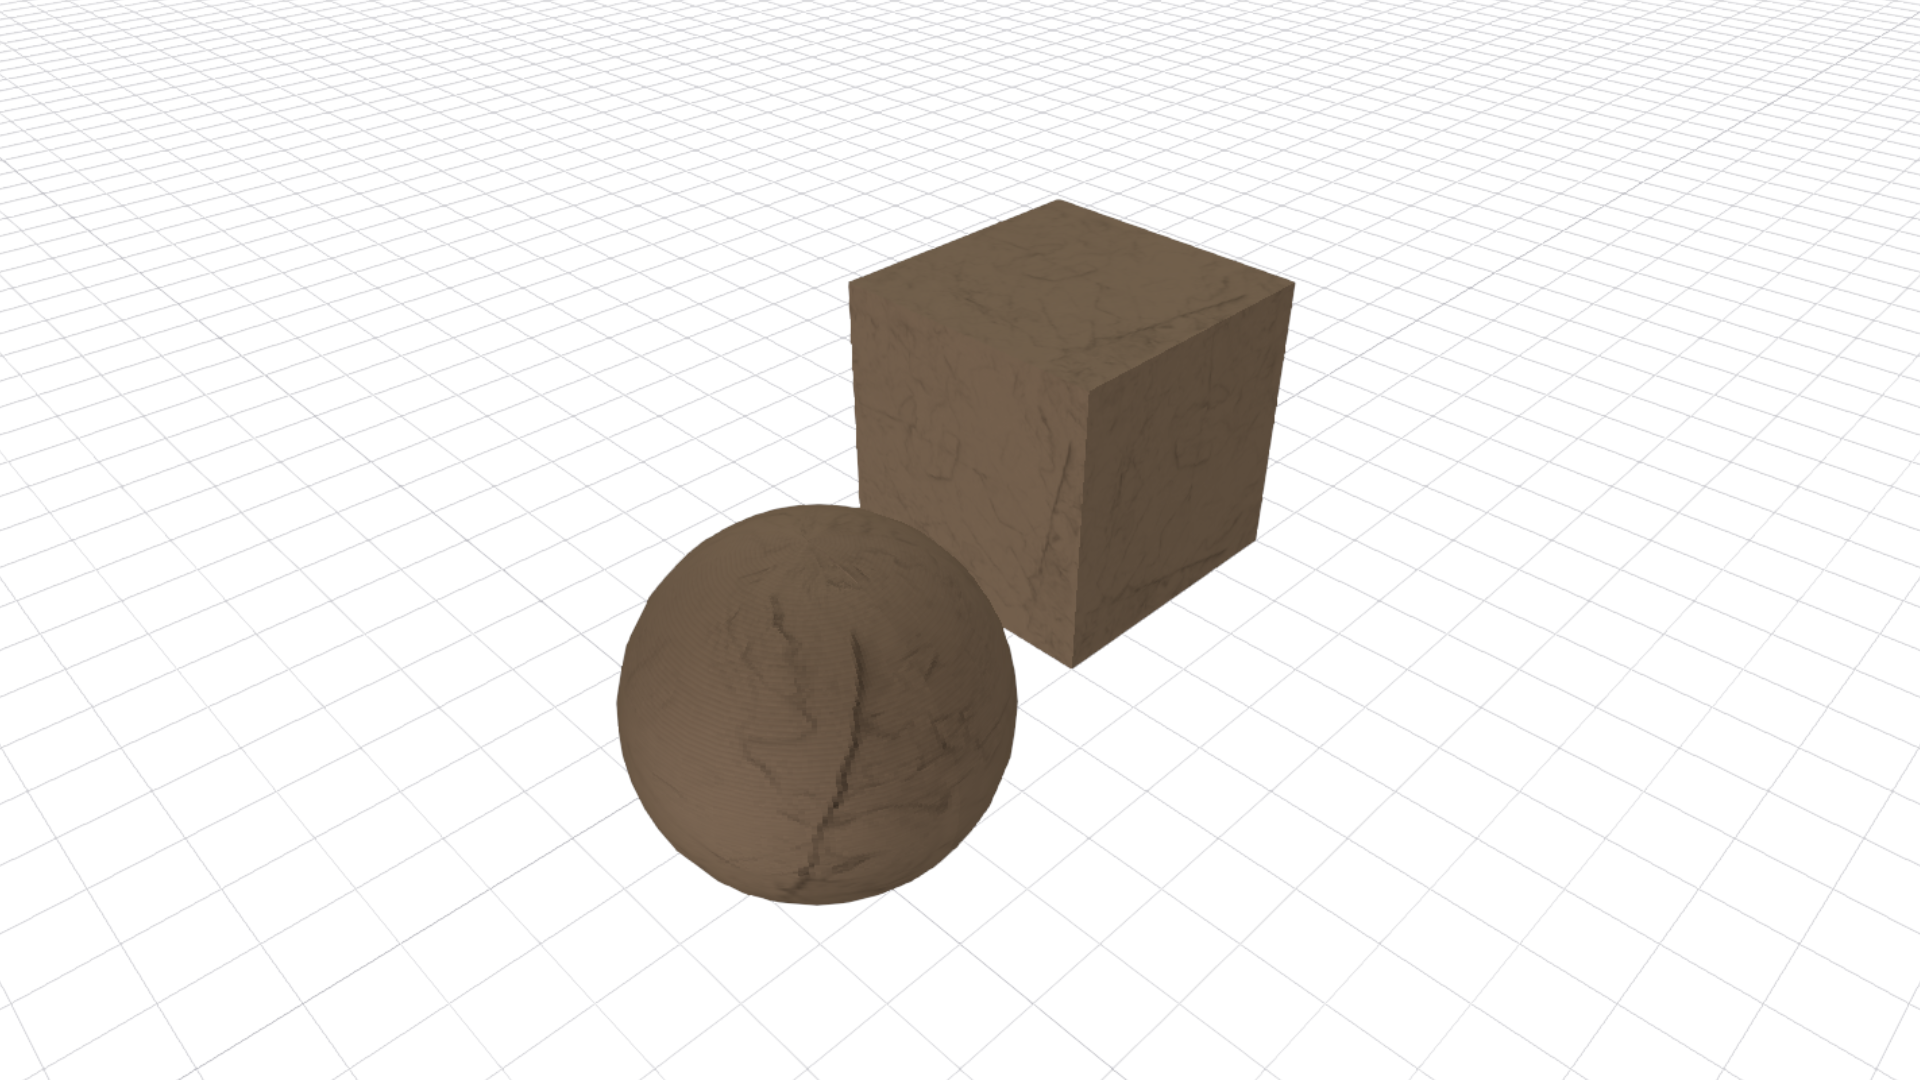
2. Assign materials to the geometry
To visualize the geometry with the configured materials, assign materials to them under the subscription from the Viewer to the Model. For additional instructions see the how to guide for setting material colours
Configuration
See the viewerconfig configuration docs for more information.