How to display geometry in a web viewer
Introduction
Display Grasshopper geometry in a web viewer.
Prerequisites
- You followed the get started with the workbench guides.
- You configured user inputs.
- You installed the Packhunt plugin.
- Check our supported plugins and blocked components.
1. Prepare your geometry Grasshopper file
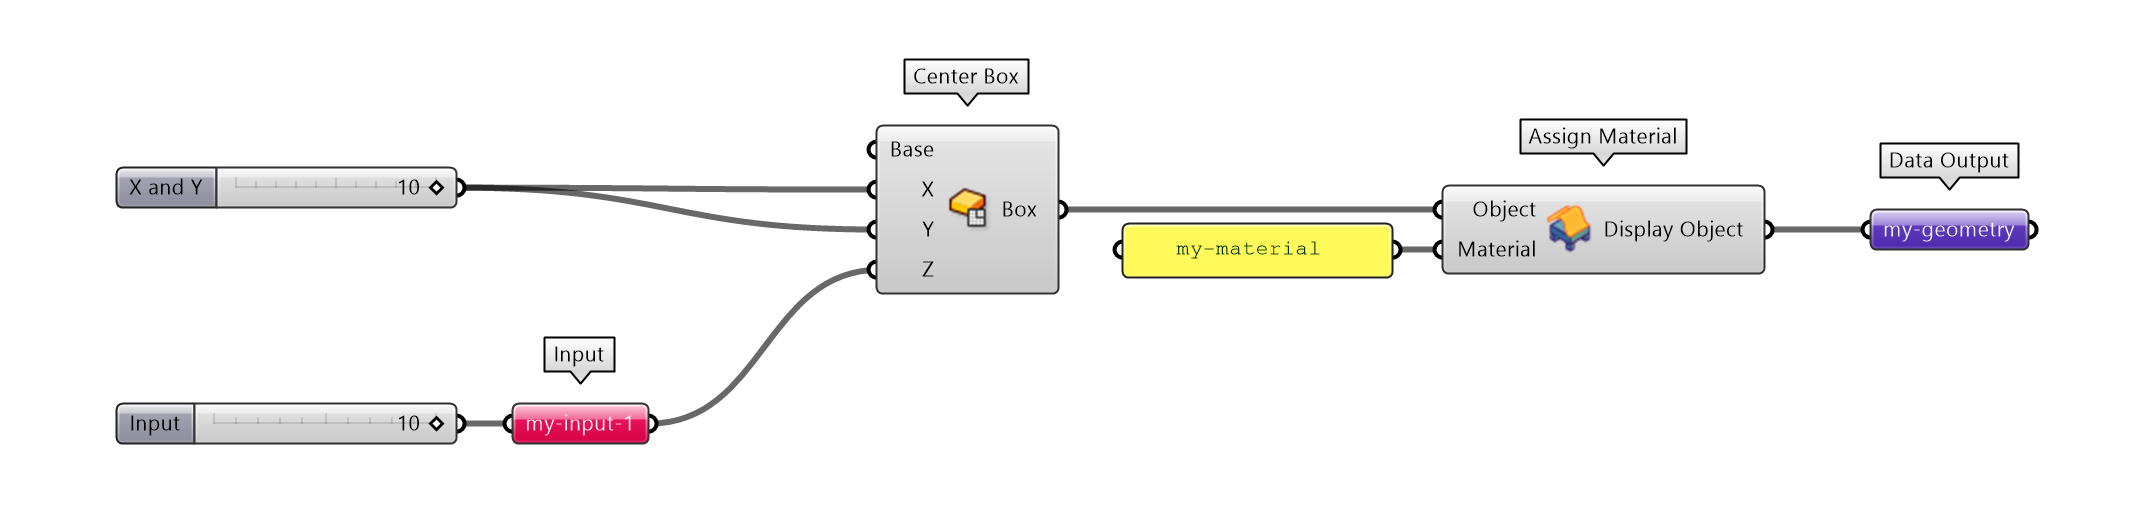
In order for Packhunt to run a Grasshopper file as part of a web-app, Packhunt input and output components need to be added.
- Connect
Packhunt Inputcomponents for all values that are coming from the web-app.- Give each Packhunt input component a unique name (no spaces and no captial letters).
- The component name must match the configured control name.
- Connect the resulting geometry to a
Packhunt Assign Materialcomponent and specify a material name (e.g.my-material). - Connect the
Packhunt Assign Materialcomponent to aPackhunt Data Outputcomponent.- Give the Packhunt output component a unique name (no spaces and no captial letters).
2. Add a Model
Add a model block for the Grasshopper model.
- Open your solution.yaml file.
- Add a block with kind
Modelto the frame where the model should run. - Set the
modelFileto the name of the Grasshopper file. - Save the Rhino Grasshopper file in our solution folder.
...
my-main-frame:
  kind: Frame
  contents:
    my-controlpanel: ...
    my-geometry-model:
      kind: Model
      modelFile: my-grasshopper-file.gh

3. Subscribe the Model to the ControlPanel
In order for the Grasshopper model to run with the user defined values, the Model block must receive the input data from the ControlPanel block.
- Subscribe the Model to the ControlPanel
- Set the
sourceto the name of the ControlPanel block - Set the
frameto the name of the frame in which the ControlPanel block is configured
...
my-main-frame:
  kind: Frame
  contents:
    my-controlpanel: ...
    my-geometry-model:
      kind: Model
      modelFile: my-grasshopper-file.gh
      subscribe:
        - kind: ControlPanel
          source: my-controlpanel
          frame: my-main-frame
4. Add a Viewer block
- Add a Viewer block to the contents of the relevant frame
- Save, deploy and open the solution
my-main-frame:
  kind: Frame
  contents:
    my-controlpanel: ...
    my-geometry-model: ...
    my-viewer:
      kind: Viewer
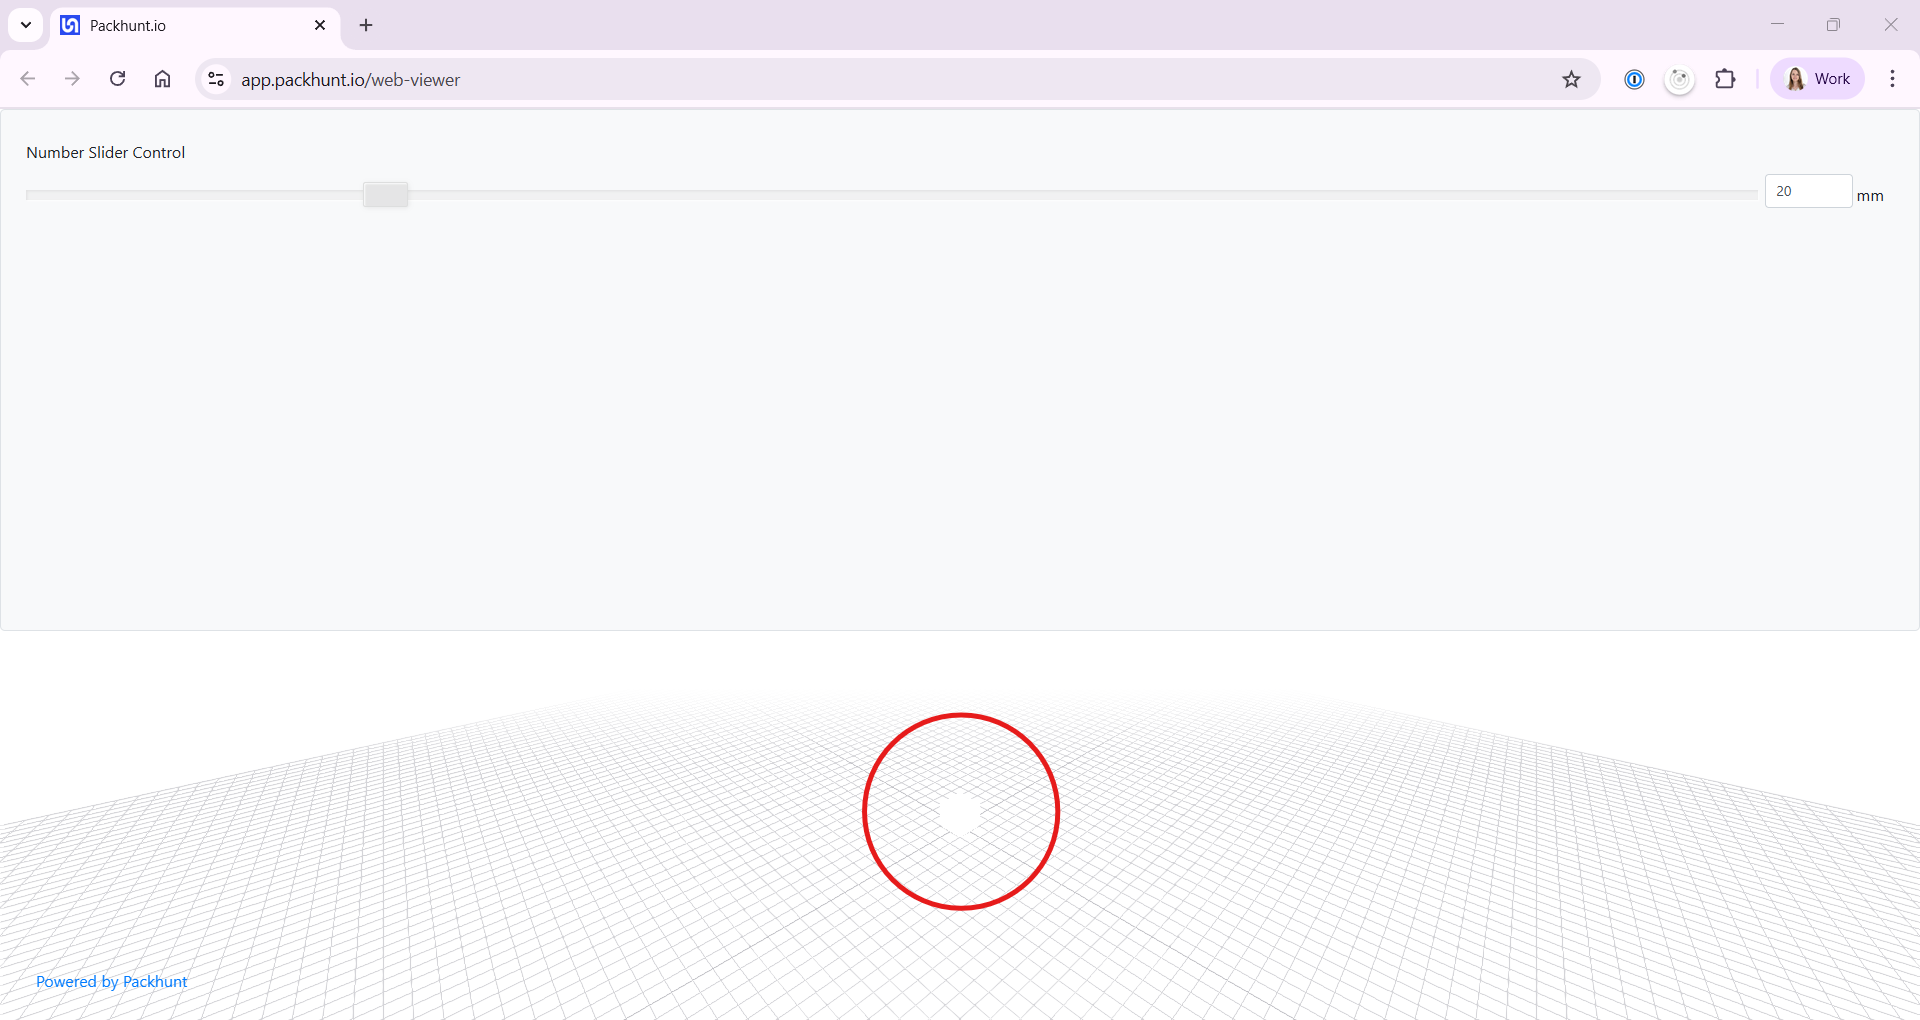
In the web-app, below the ControlPanel you should see an empty viewer (no geometry yet).
5. Subscribe the Viewer to the Model
In order for the Viewer to show the Grasshopper geometry, the Viewer block must receive the geometry data from the Model block.
- Subscribe the Viewer block to the Model block
- Set the
sourceto the name of the Model block - Set the
frameto the name of the frame in which the Model block is configured - Save and deploy the solution
- Open the web-app
...
my-main-frame:
  kind: Frame
  contents:
    my-controlpanel: ...
    my-geometry-model: ...
    my-viewer:
      kind: Viewer
      subscribe:
        - kind: Model
          source: my-geometry-model
          frame: my-main-frame
In the web-app, below the ControlPanel, you should see a viewer with white geometry. When a material is not defined in the viewer, a white material is applied by default.
6. Define viewer material
Apply your own colors to the geometry in the web viewer.
- Add the
materialsproperty to the viewer block - Specify the name of the material mentioned in your Grasshopper model in the
materialsproperty (e.g.my-material) - Set the material kind to
StandardMaterial - Specify the
colorin RGB values - Assign the configured material to the model output in the Viewer Model subscription
- Save and deploy the solution
- Open the web-app
my-main-frame:
  kind: Frame
  contents:
    my-controlpanel: ...
    my-geometry-model: ...
    my-viewer:
      kind: Viewer
      materials:
        my-material:
          kind: StandardMaterial
          color: [42, 75, 240]
      subscribe:
        - kind: Model
          source: my-geometry-model
          frame: my-main-frame
          assignMaterials:
            my-geometry: my-material
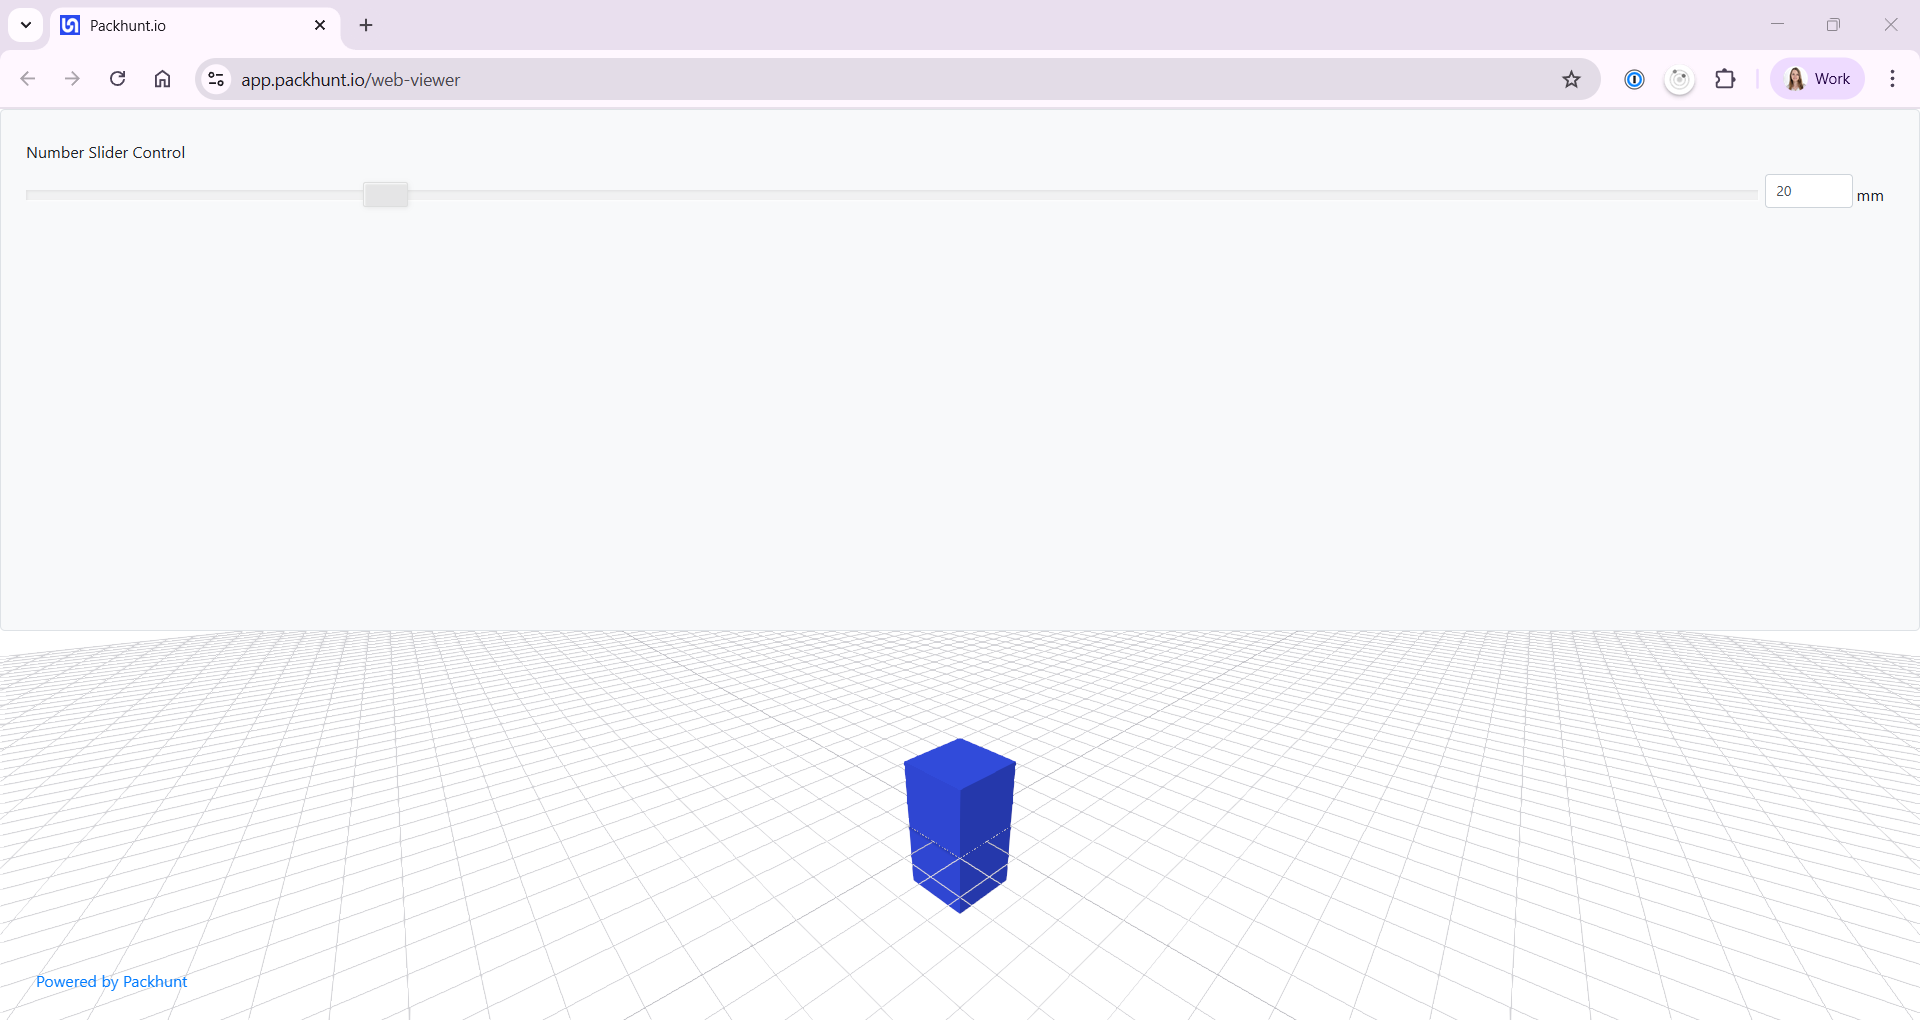
Now you should be able to see the geometry in the web-app with your material color in the viewer.
7. (Optionally) define viewer settings
If you modelled something different than in this example then you might not see your geometry in the viewer yet. This might be because the viewer camera is too close or too far away. Check how big the geometry is in Grasshopper and adjust the following:
- Add viewer
settingsof kindBasicSettings - Set the
axestotrue, so you can see where the origin is. - Set the
sizeaccording to the size of the geometry in your Grasshopper model. - You can also turn the grid off, add fog or adjust other settings.
Configuration
See the Viewer block and Model block for more information.
Next steps
Change the layout of your web-app (e.g. move the Viewer to the left and ControlPanel to the right).