Step 5: Share your solution with others
A tutorial on how you can share your Workbench solution with others.
Introduction
Share your Workbench solution with colleagues to collaborate, educate and automate standard tasks. To allow other users to use or edit your solution, you can share it via the Developer Platform Studio.
Share your solution to use
To allow a user to view and use your Workbench solution:
- Follow the steps in our share project guide.
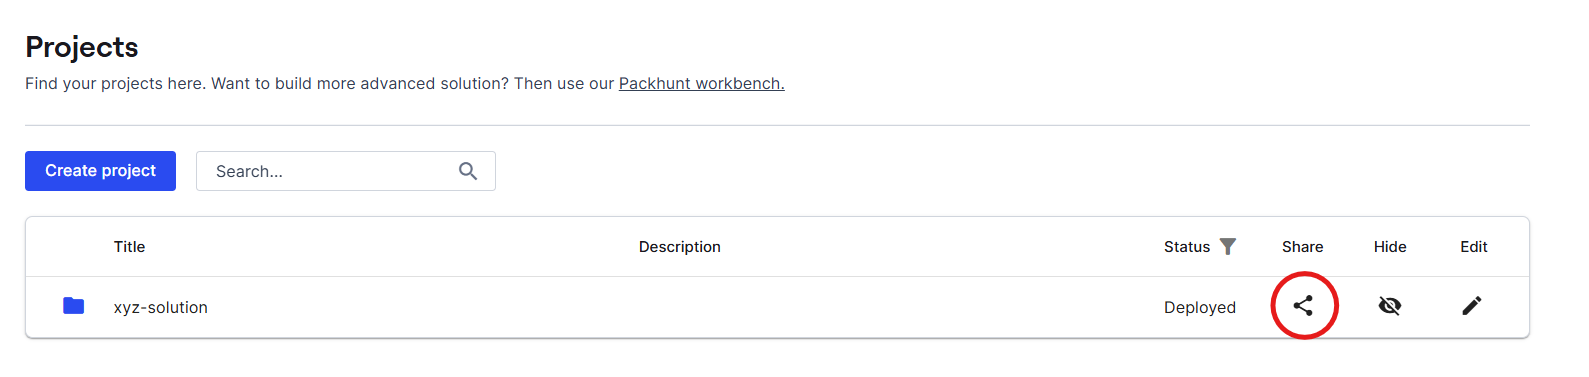
Once shared, the other user will see the shared project in their project overview list and be able to open the corresponding solution.
Share your solution to edit
To allow other Workbench users to make changes to your solution, you need to give them edit rights.
- Share your project.
- Follow the steps in the share project guide and opt for Full access.
- Share your project template.
- Navigate to your “Templates” via the left navigation.
- Find the relevant template for your solution. The template name is the solution name with
-templateadded at the end. - Click on the button on the right.
- Click on the “Share” button.
- Enter the corresponding username and click “Share”.
- Choose how much access the user should get. If you opt for:
- Can edit the user can edit the template, therefore can deploy your Workbench solution.
- Full access the user can edit and share the template, therefore can allow others to deploy your Workbench solution.
Once shared, the other user can edit your solution by deploying a solution with the same solution name. For more information on deploying a solution, see our create solution guide.